 Pin It
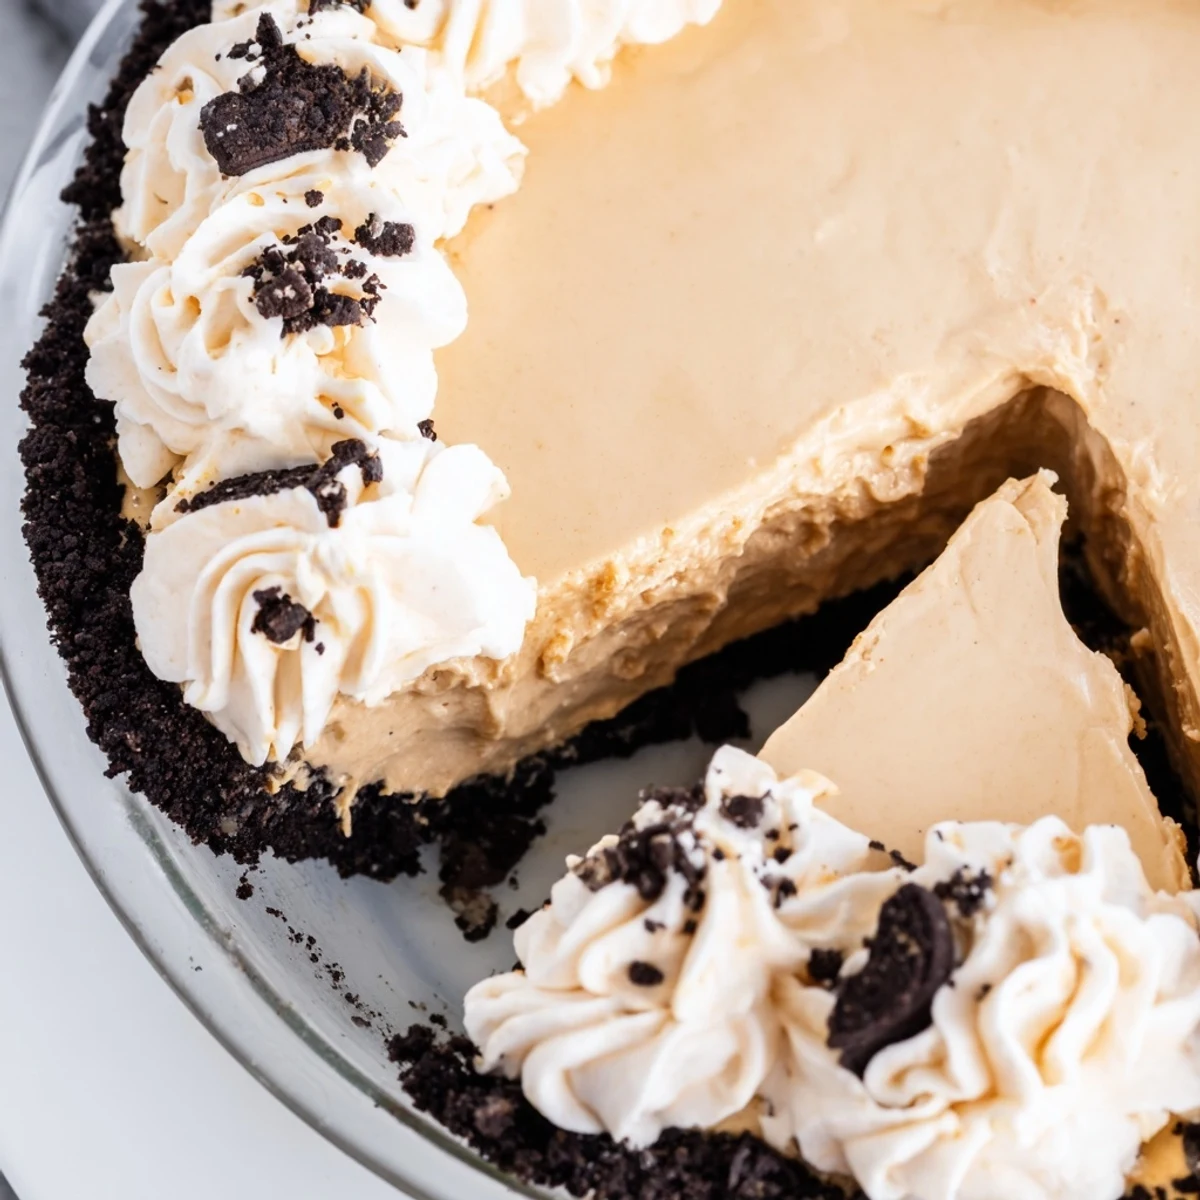
 This decadent dessert combines the nutty richness of creamy peanut butter with the irresistible crunch of chocolate sandwich cookies. The silky smooth filling blends whipped cream with cream cheese for a light yet indulgent texture, all cradled in a buttery chocolate cookie crust. Perfect for gatherings, this make-ahead delight requires minimal effort and delivers maximum satisfaction.
The first time I brought this pie to a summer potluck, my friend Sarah actually gasped when she took her first bite. She made me promise right then and there that I'd never show up to another gathering without it. Something about that creamy peanut butter filling against the crunchy chocolate crust just hits different.
I made this for my dad's birthday last year instead of his usual cake request. He took one bite and declared this his new favorite dessert which is saying something for a man who's been ordering the same vanilla slice at restaurants for thirty years.
Ingredients
- Oreo cookies: Don't bother separating the cookies from the filling, the cream helps bind everything together into that perfectly crumbly crust
- Unsalted butter: Melt it completely so it coats every crumb evenly, giving you that perfect press in texture that holds its shape
- Creamy peanut butter: Room temperature makes all the difference for smooth blending, I learned this the hard way after fighting with cold peanut butter one too many times
- Cream cheese: Let it soften on the counter for at least two hours so you never hit those dreaded lumps in your silky filling
- Powdered sugar: Sift it if you can, it incorporates so much faster into the peanut butter mixture
- Heavy whipping cream: Chill your mixing bowl and beaters for ten minutes before whipping, it cuts your whipping time in half
Instructions
- Build that chocolate cookie base:
- Crush those Oreos into fine crumbs using a food processor or the good old plastic bag and rolling pin method, then stir in your melted butter until every dark crumb is coated. Press this mixture firmly into your pie dish and bake for just ten minutes at 350 degrees F, letting it cool completely before adding any filling.
- Create the silkiest peanut butter cream:
- Beat together your softened cream cheese and peanut butter until absolutely smooth, then blend in the powdered sugar until no white specks remain. Whip your heavy cream to stiff peaks in a separate chilled bowl and gently fold it into the peanut butter mixture until everything is incorporated and light.
- Let it set up:
- Spread that gorgeous peanut butter filling evenly over your cooled Oreo crust and pop the whole thing in the fridge for at least two hours. This patience step is crucial, I promise it's worth the wait for that perfect slice.
- Top it all off:
- Whip your remaining heavy cream with the powdered sugar until you have those beautiful stiff peaks, then spread or pipe it generously over your chilled pie. Finish with a handful of coarsely crushed Oreos for that final crunch.
 Pin It
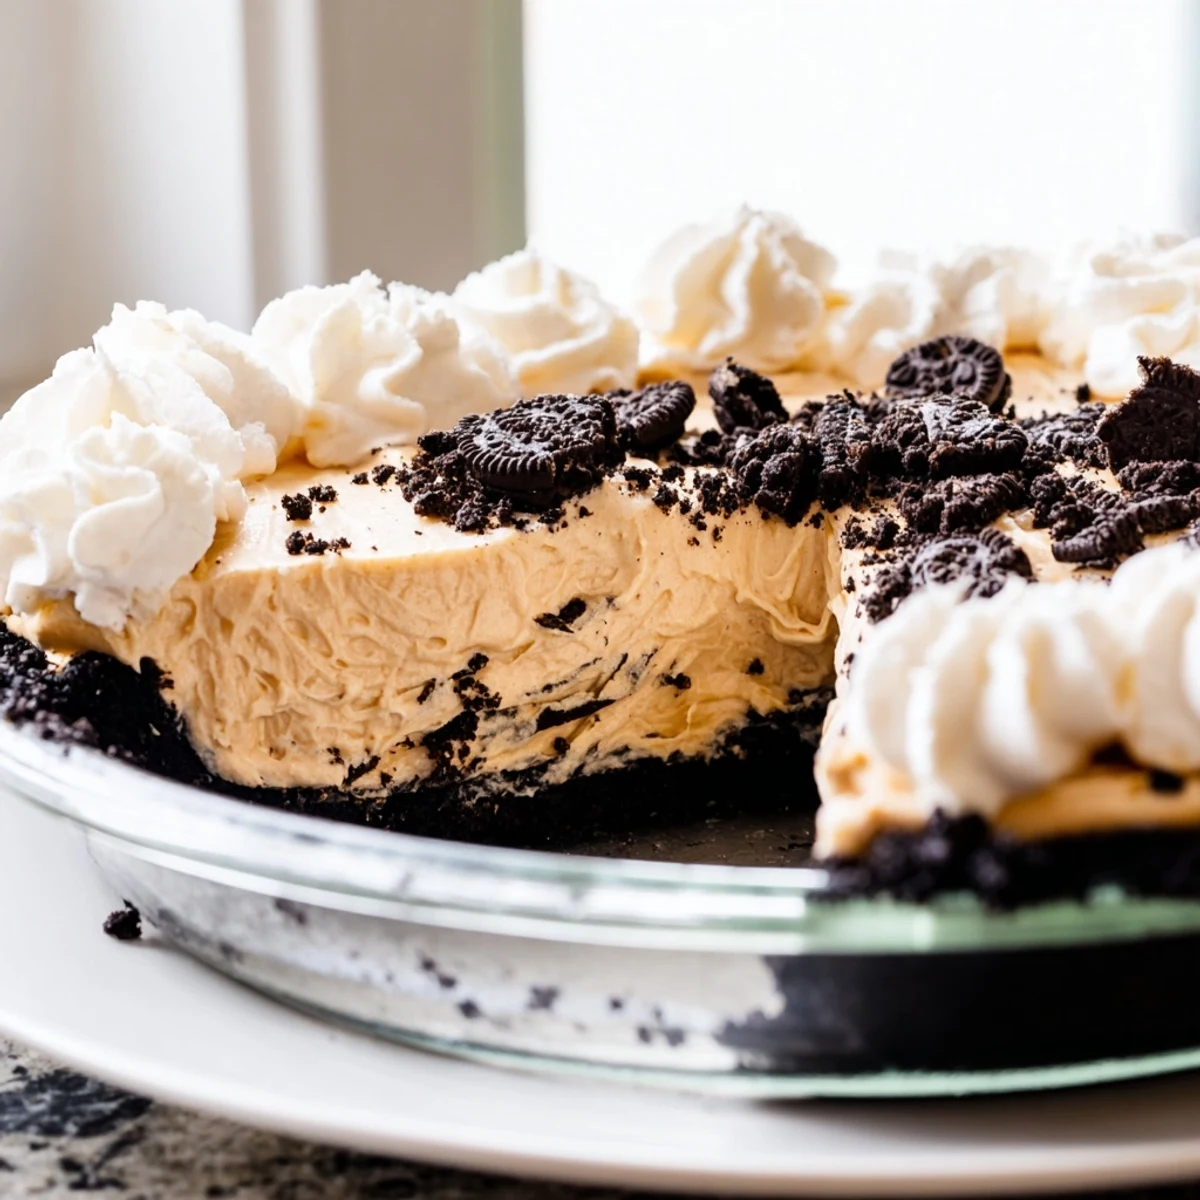
 My kids now request this for every special occasion and honestly, I'm not complaining. It's become the kind of recipe that shows up at family birthdays, holiday desserts, and random Tuesday celebrations alike.
Making It Your Own
Swapping in crunchy peanut butter adds this incredible texture that makes every bite more interesting. I've started keeping both creamy and crunchy in the pantry just for this recipe, letting everyone choose their own adventure.
The Chocolate Drizzle Trick
Melt some good chocolate chips and let them cool slightly before drizzling over the whipped cream topping. The way it hardens against the cold cream creates this gorgeous snap that takes the whole pie to restaurant quality territory.
Storage Secrets
This pie actually gets better after a day in the fridge, as the flavors meld and the crust softens slightly. It keeps beautifully for up to five days covered tightly, though in my house it's never lasted past day two.
- Press the Oreo mixture up the sides of the dish a bit higher than you think you need to
- Use a warm knife dipped in hot water for the cleanest slices that look restaurant perfect
- Let the pie sit at room temperature for five minutes before serving for the creamiest texture
 Pin It
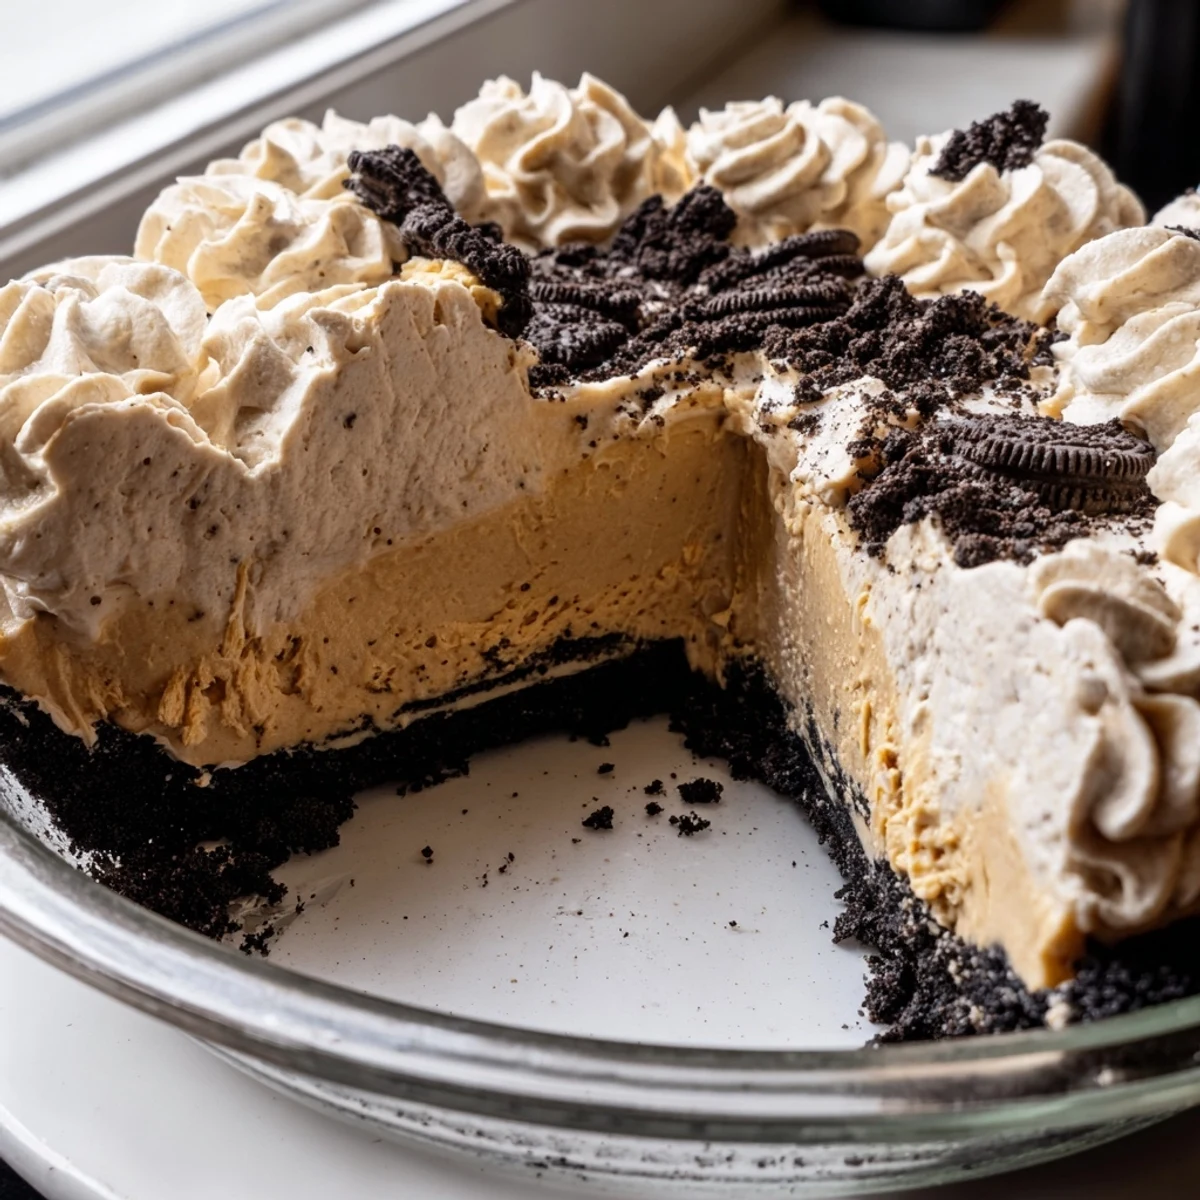
 There's something about that first bite of chocolate crust meeting creamy peanut butter that just makes people happy. I hope this pie finds its way into your regular dessert rotation too.
Recipe Questions
- → How long does peanut butter Oreo pie need to chill?
-
The pie requires at least 2 hours of refrigeration time for the filling to set properly. For best results, chill 3-4 hours or overnight. This allows the flavors to meld and the texture to firm up for clean slicing.
- → Can I make this pie ahead of time?
-
Absolutely! This is an excellent make-ahead dessert. You can prepare it up to 2 days in advance, storing it covered in the refrigerator. Add the crushed cookie garnish shortly before serving to maintain crunchiness.
- → What's the best way to crush Oreos for the crust?
-
A food processor creates the finest, most even crumbs in seconds. Alternatively, place cookies in a sealed plastic bag and crush with a rolling pin or heavy skillet. For the best crust texture, aim for fine, sand-like crumbs.
- → Can I use crunchy peanut butter instead of creamy?
-
Yes! Crunchy peanut butter adds delightful texture contrast throughout the filling. The peanut pieces create a more complex mouthfeel while maintaining the same creamy base. Just ensure it's well blended for even distribution.
- → How should I store leftovers?
-
Cover the pie dish tightly with plastic wrap or transfer slices to an airtight container. Refrigerate for up to 5 days. The texture remains excellent, though the cookie garnish may soften slightly over time.
- → Can I freeze this peanut butter pie?
-
Yes! Wrap the unassembled pie tightly in plastic and foil, then freeze for up to 2 months. Thaw overnight in the refrigerator before adding whipped cream topping and serving. For best results, add fresh toppings after thawing.