 Pin It
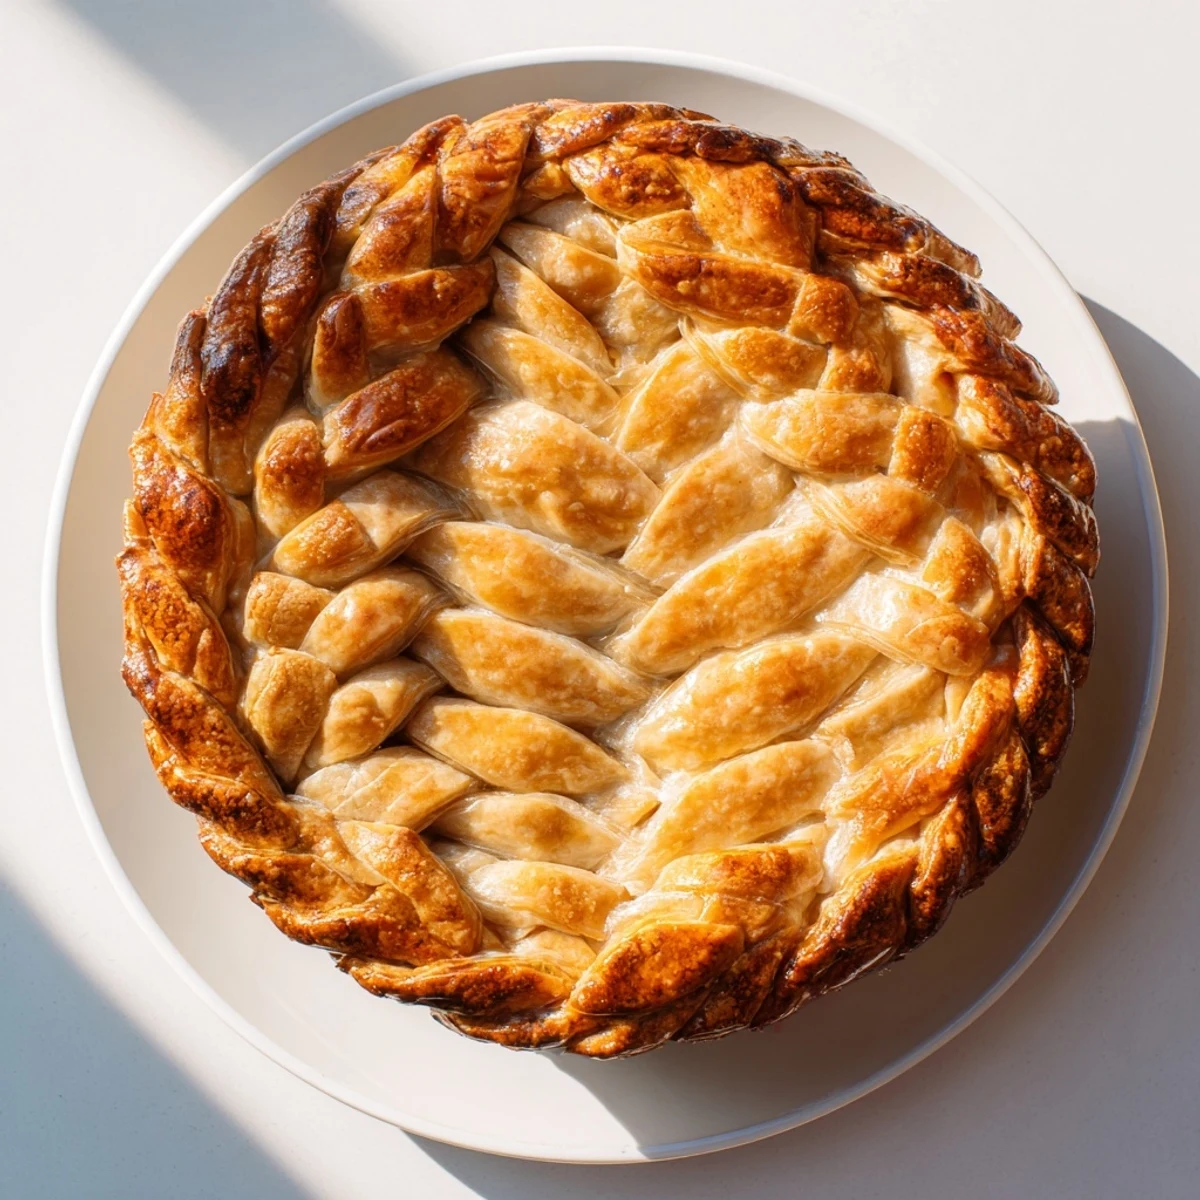
 This decorative crust technique transforms ordinary pies into bakery-worthy showstoppers. The method involves rolling dough into thin strips, then weaving them using a fishtail braiding pattern that creates an intricate, professional appearance along the pie's edge.
The process requires about 35 minutes of preparation and yields one standard 9-inch pie crust. Key steps include preparing a classic butter dough, cutting even strips, and carefully weaving them using the specific fishtail technique—crossing outer strips inward rather than the traditional over-under method.
This versatile decoration works beautifully with fruit pies, quiches, and savory pot pies alike. Keep dough chilled throughout for clean edges, and finish with an egg wash for golden shine. The result is an impressive, Instagram-worthy presentation that suggests professional pastry skills.
The first time I attempted a braided pie crust, I was hosting Thanksgiving and feeling wildly ambitious. My kitchen was already chaos when I started cutting strips of dough, hands dusted with flour, trying to remember how fishtail braids worked from my middle school hair days. That pie emerged from the oven looking like it belonged in a bakery window, and I've never looked back at plain crimped edges since.
Last summer I made this for a neighbor's birthday with fresh cherry filling, and she called me the next day saying she couldn't stop thinking about that beautiful crust. There's something incredibly satisfying about turning humble flour and butter into something that feels like edible art.
Ingredients
- 2 1/2 cups all-purpose flour: The foundation of everything tender and flaky
- 1 cup unsalted butter: Keep it ice cold or risk losing those precious layers
- 1 tsp salt: Dont skip this, it balances the sweetness and deepens flavor
- 1 tbsp sugar: Optional, but I always add it for that golden color
- 1/4 to 1/2 cup ice water: Add gradually until the dough just cooperates
- 1 egg beaten with 1 tbsp milk: The secret to that professional bakery shine
Instructions
- Make the dough:
- Whisk flour, salt, and sugar in a large bowl, then work in cold butter with your fingers until you see pea-sized chunks still remaining. Drizzle in ice water while gently tossing, stopping when the dough holds together when squeezed. Divide into two disks, wrap tightly, and chill for at least an hour.
- Cut your strips:
- Roll one chilled disk on a floured surface into a rectangle about 1/8 inch thick. Use a ruler and knife to cut at least six even strips, about 12 inches long and 1/2 inch wide, keeping everything as cold as possible.
- Create the fishtail braid:
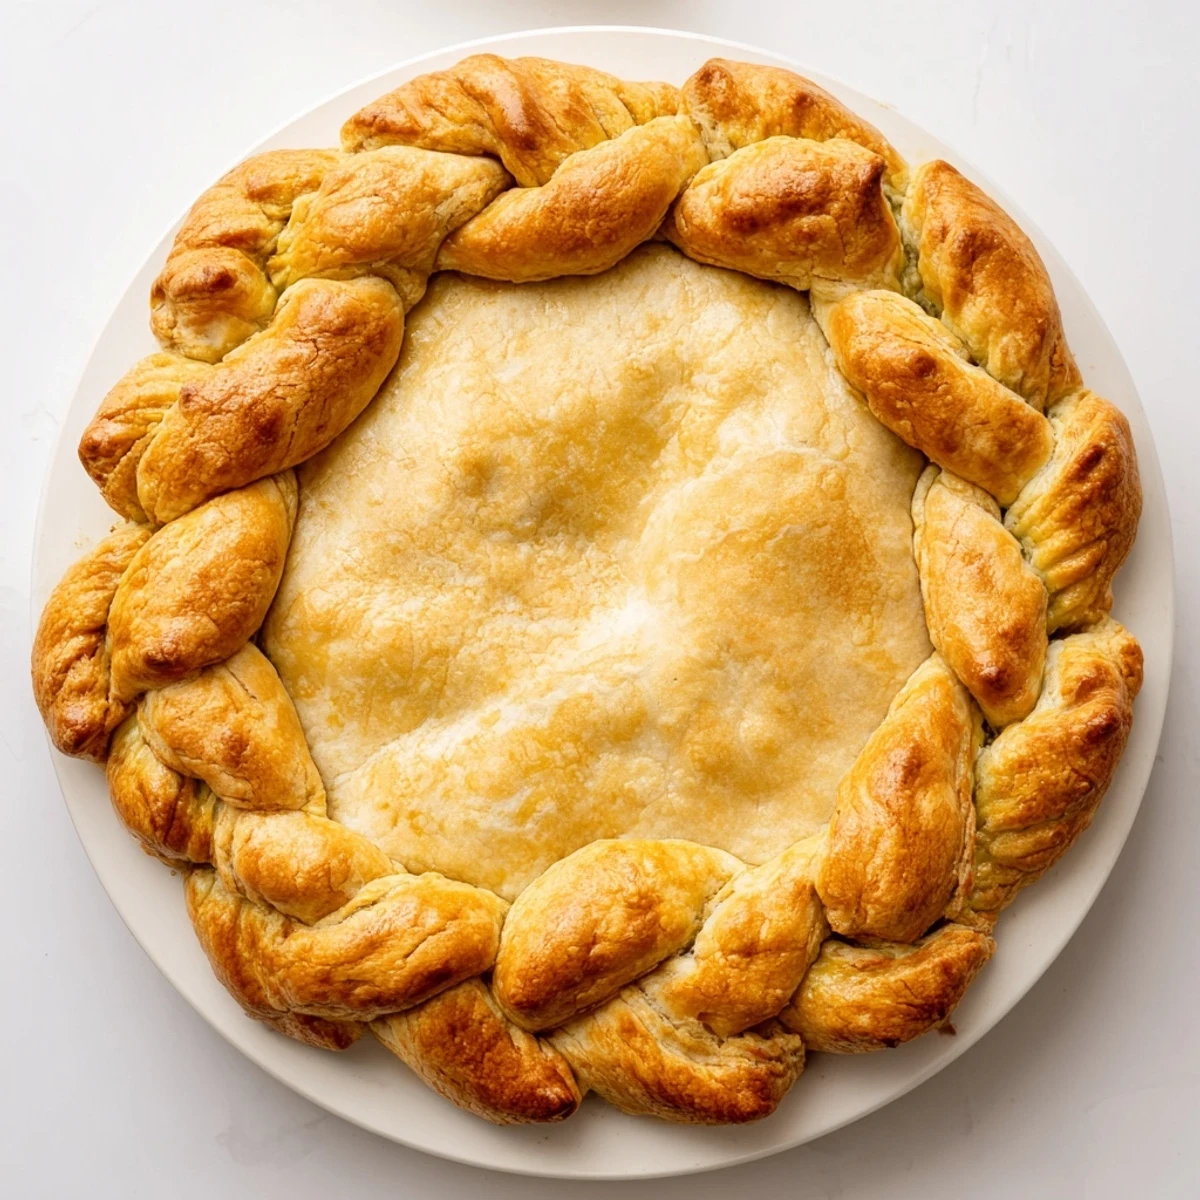
- Lay three strips side by side and pinch one end together. Start with a regular braid for one cross, then begin the fishtail pattern by taking the outermost right strip to center, then outermost left to center, working your way down. Press the other end firmly to seal.
- Attach to your pie:
- Brush the rim of your filled pie with water, then gently lift and position the braid around the edge, pressing lightly to help it stick. Continue braiding until you've covered the entire perimeter, then brush with egg wash for that gorgeous golden finish.
- Bake to perfection:
- For filled pies, bake according to your recipe instructions. If pre-baking the shell, chill the assembled crust for 15 minutes first, then bake at 375°F for 12-15 minutes until deeply golden and fragrant.
 Pin It
 My sister-in-law still talks about the apple pie I brought to Christmas three years ago, admitting she took photos before anyone could cut it. That's the magic of a decorated crust—it turns dessert into a celebration before anyone even takes a bite.
Working With Colored Dough
I once wove in strips colored with beet juice for a Valentine's Day pie, and the effect was absolutely stunning. You can use spinach for green, turmeric for yellow, or keep it classic with plain dough. The trick is to roll colored strips slightly thinner so they don't overwhelm the design.
Timing Your Assembly
Learned this the hard way: always make your braids before filling your pie. There's nothing worse than having your beautiful strips warm up while you're wrestling with a messy fruit filling. I prep all my braids on a parchment-lined baking sheet and keep them chilled until the last possible moment.
Troubleshooting Common Problems
If your braids are separating during baking, you probably didn't press the ends together firmly enough. If the crust is tough, you likely overworked the dough or added too much water. Practice on a simple batch first before attempting for a big event.
- Keep a small bowl of ice water nearby to dip your fingers if dough starts sticking
- Rotate your pie halfway through baking for even browning
- If the braid browns too quickly, tent loosely with foil
 Pin It
 There's something deeply satisfying about making something beautiful with your own hands, especially when it disappears so quickly. Happy baking, friend.
Recipe Questions
- → What makes fishtail braiding different from regular braiding?
-
Fishtail braiding crosses outer strips inward toward the center, rather than weaving strips over and under each other. This creates a flatter, more intricate woven appearance that sits beautifully against the pie's edge and looks more sophisticated than standard three-strand braids.
- → Can I make this crust ahead of time?
-
Absolutely. Prepare the dough and braid strips up to 2 days in advance, storing them wrapped tightly in plastic wrap in the refrigerator. You can also freeze unbaked braided crusts for up to 3 months—thaw overnight in the refrigerator before baking.
- → Why is my dough falling apart while braiding?
-
Dough that's too warm becomes difficult to work with. Keep everything chilled—if dough becomes soft or sticky, return it to the refrigerator for 10-15 minutes. Working quickly and using minimal flour helps maintain the dough's structure without making it tough.
- → What fillings work best with this decorative crust?
-
This versatile topping complements almost any filling. Fruit pies like apple, cherry, or berry showcase the decoration beautifully. It's equally stunning on savory dishes like chicken pot pies, quiches, and vegetable tarts. Avoid very runny fillings that might seep under the braid.
- → Can I use store-bought dough for this technique?
-
Yes, refrigerated pie dough works well for fishtail braids. Let it thaw according to package directions, then roll and cut as directed. Homemade dough typically produces slightly better results since you control the hydration, but store-bought versions save considerable time.
- → How do I prevent the braid from burning?
-
The braid browns faster than the crust due to its increased surface area. Check after 15 minutes of baking—if it's darkening too quickly, tent loosely with aluminum foil. An egg wash applied toward the end of baking rather than at the beginning also helps control browning.