 Pin It
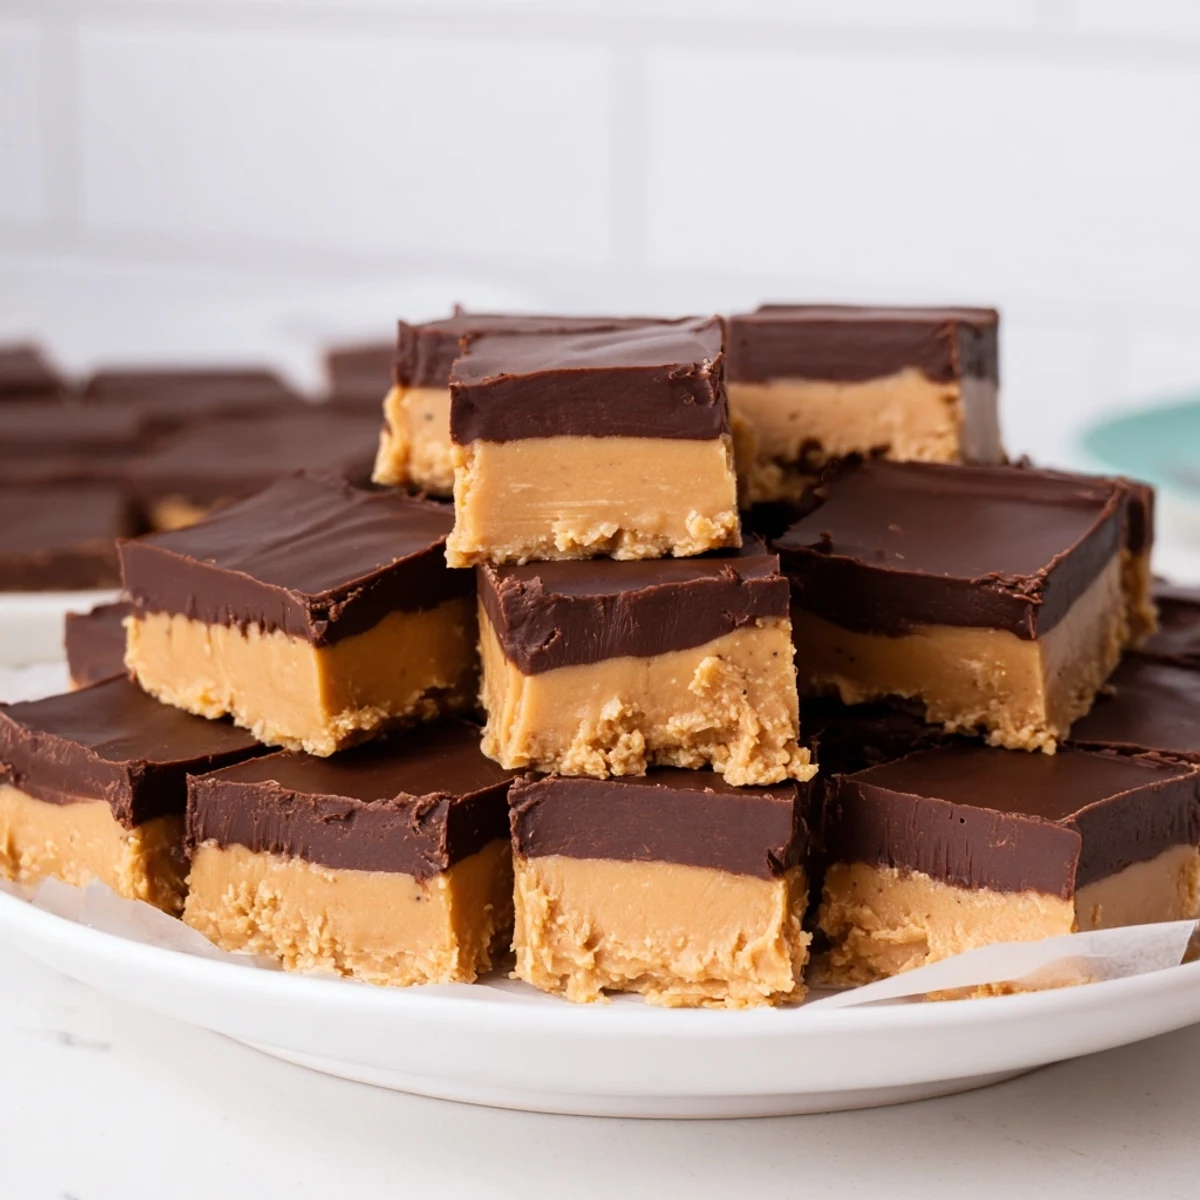
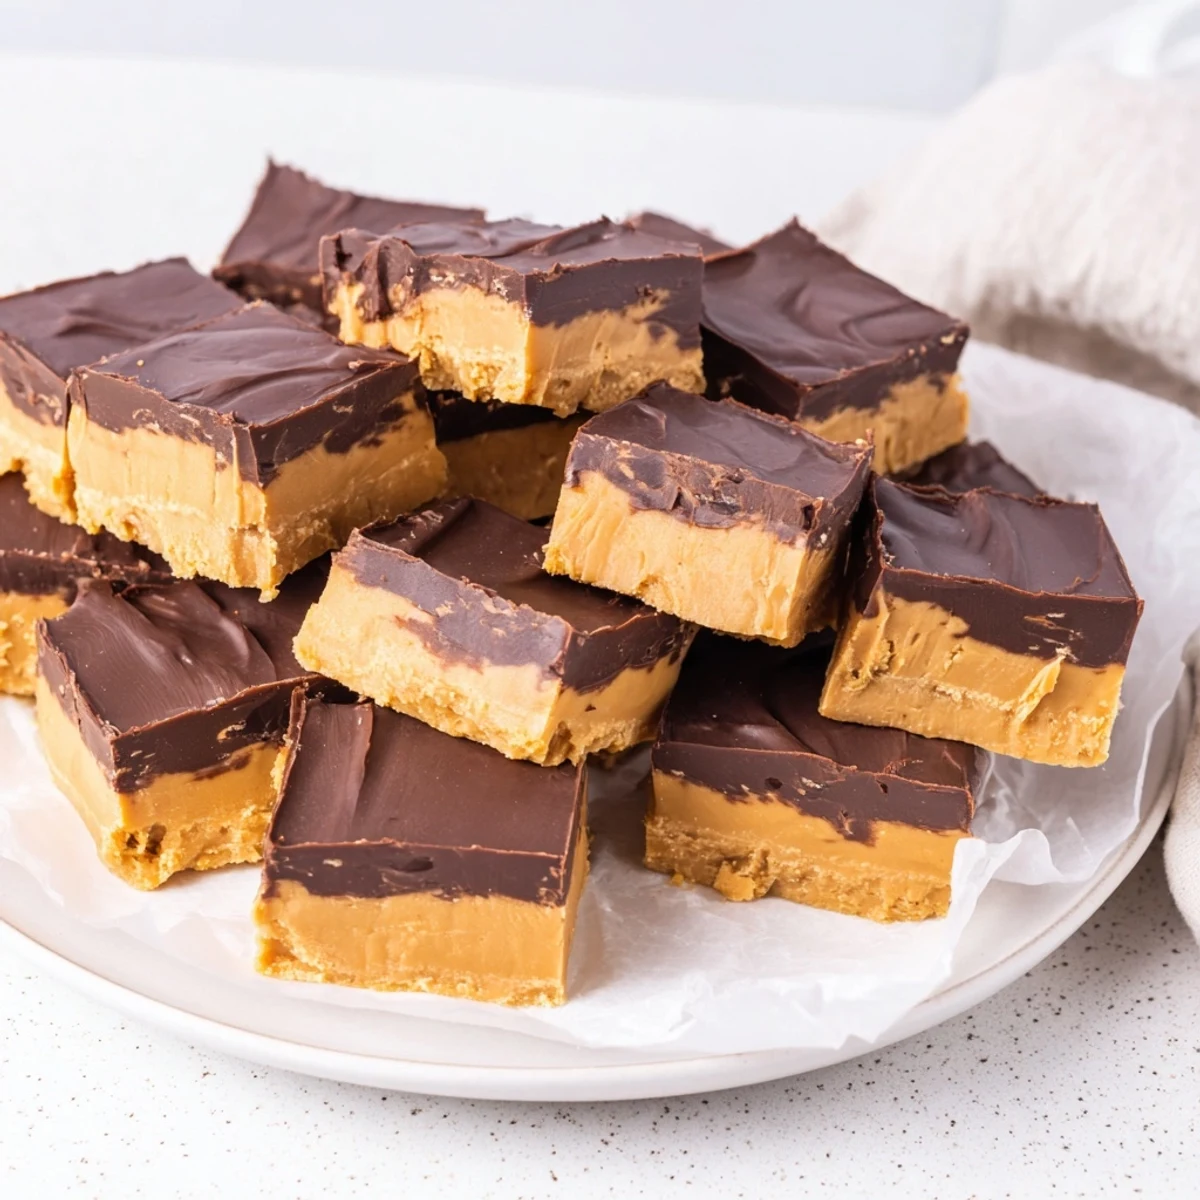
 These luscious squares combine rich chocolate and creamy peanut butter layers for a smooth, decadent treat. First, a silky chocolate base is melted and set chilled. Then a buttery peanut butter mixture sweetened with powdered sugar and vanilla tops the chocolate, creating a perfect balance of flavors. The layered squares chill for at least two hours until firm, then are cut into 16 portions. Optional sea salt enhances the salty-sweet contrast.
Ideal for easy indulgence, this dessert offers a velvety texture and satisfying richness, perfect for sharing or a quick sweet bite.
The first time I made these fudge squares was during a holiday baking marathon when I desperately needed something impressive but manageable. I had already attempted three different cookies and my patience was wearing thin. These came together so quickly that I actually laughed out loud in my kitchen. Now they are my go to whenever I need a homemade treat that looks like it took way more effort than it actually did.
Last Christmas I brought a batch to my office potluck and watched them disappear within twenty minutes. Three different coworkers asked for the recipe and one person actually went back for seconds before the lunch break was over. My boss admitted she ate two squares while hiding in her office because she did not want to share.
Ingredients
- Semi sweet chocolate chips: These provide the perfect balance of sweetness without being overpowering like milk chocolate would be
- Sweetened condensed milk: This is the secret ingredient that makes the fudge impossibly smooth and creamy without needing a candy thermometer
- Unsalted butter: Adds richness and helps the fudge set properly without becoming too hard
- Creamy peanut butter: Use a mainstream brand rather than natural separated peanut butter for the smoothest texture
- Powdered sugar: Sweetens the peanut butter layer while helping it firm up beautifully
- Vanilla extract: A small amount that enhances both layers without making them taste like vanilla cake
Instructions
- Prepare your pan:
- Lining the pan with parchment paper is absolutely essential for clean removal. Leave enough overhang on opposite sides so you can lift the whole block out easily later.
- Make the chocolate layer:
- Melt everything together slowly whether using a double boiler or microwave. Stir thoroughly until the mixture is completely smooth and glossy with no visible chocolate bits remaining.
- Set the chocolate base:
- Pour into your prepared pan and spread evenly. Thirty minutes in the refrigerator gives you the perfect slightly firm base for the peanut butter layer.
- Prepare the peanut butter layer:
- Melt the peanut butter and butter together then remove from heat before adding the powdered sugar. This prevents the sugar from becoming grainy and ensures a silky texture.
- Layer and chill completely:
- Pour the peanut butter mixture over your chilled chocolate layer and smooth the top. At least two hours of chilling time is necessary for clean cuts.
- Cut and serve:
- Use the parchment overhang to lift the fudge onto a cutting board. A sharp knife dipped in hot water will give you the cleanest squares.
 Pin It
 My daughter requested these for her birthday instead of a traditional cake. We cut them into smaller bites and arranged them on a pretty platter with candles. The adults were just as excited as the kids and several people told me they preferred them to cake.
Making Ahead
You can prepare these fudge squares up to a week in advance which makes them perfect for holiday gifting or parties. Store them in the refrigerator in an airtight container between layers of wax paper. They actually develop a deeper flavor after a day or two.
Texture Secrets
The temperature of your ingredients matters more than you might expect. Room temperature peanut butter will incorporate more smoothly with the butter and sugar. Take the time to measure everything precisely because fudge is not very forgiving with ratios.
Customization Ideas
Once you master the basic recipe the variations are endless. Some of my favorite experiments have included adding crushed pretzels to the peanut butter layer or swirling in marshmallow fluff. A sprinkle of flaky sea salt on top elevates these from sweet to sophisticated.
- Try using dark chocolate chips instead of semi sweet for a more intense chocolate flavor
- Add a handful of chopped salted peanuts to the peanut butter layer for extra crunch
- Swap the vanilla extract for almond extract to complement the nutty flavors
 Pin It
 These squares have become my emergency dessert because I almost always have the ingredients in my pantry. They never fail to impress even though they are surprisingly simple to make.
Recipe Questions
- → How do I achieve smooth layers?
-
Melt each layer gently and spread evenly, refrigerating the first layer until set before adding the next to maintain distinct textures.
- → Can I use vegan alternatives?
-
Yes, substitute dairy-free chocolate chips, vegan butter, and plant-based condensed milk to keep it vegan-friendly.
- → What type of pan is best?
-
An 8-inch square baking pan lined with parchment ensures easy removal and clean, even edges.
- → How long should chilling take?
-
Chill the chocolate layer for about 30 minutes and the assembled squares for at least 2 hours to set properly.
- → How can I store these squares?
-
Keep them in an airtight container in the refrigerator, where they stay fresh for up to one week.