 Pin It
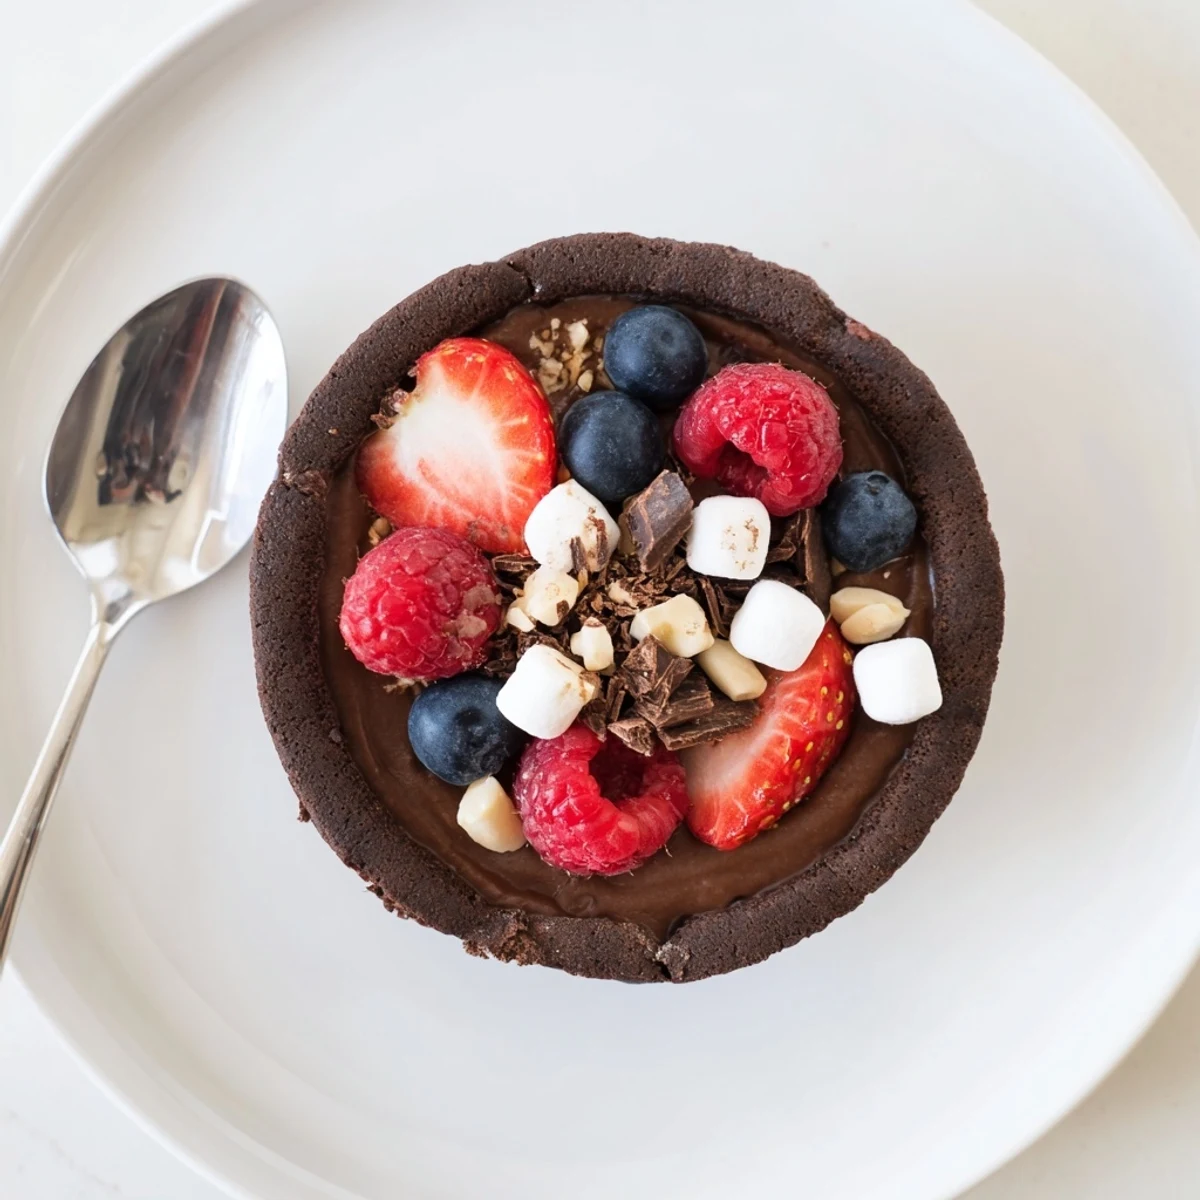
 Create stunning dessert presentations with these decadent chocolate grazing cups. Start by crafting edible chocolate cups from melted dark chocolate, then fill with silky chocolate mousse made from whipped cream and melted chocolate. Top with fresh mixed berries, chopped nuts, mini marshmallows, and chocolate curls for texture variety. These individual servings require just 25 minutes of active preparation and 10 minutes of cooking time, plus chilling. Perfect for dinner parties, celebrations, or whenever you want to impress guests with restaurant-style desserts.
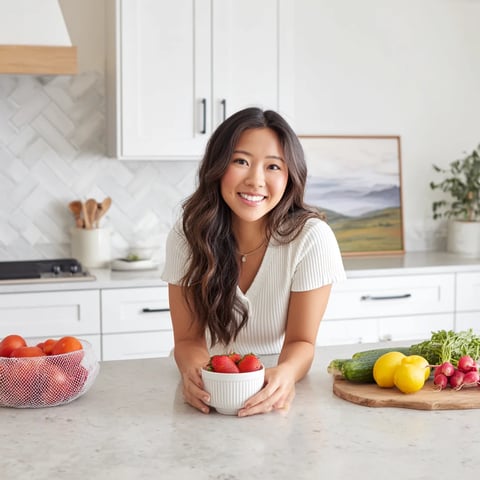
The first time I made chocolate cups, I accidentally touched the still-warm chocolate and left a perfect fingerprint right in the middle of what was supposed to be an elegant dessert. My guests didn't care—they were too busy marveling at the fact that they could actually eat the container. Sometimes the imperfect moments make the best stories, and these grazing cups have become my go-to for dinner parties because they look impressive but secretly come together in under an hour.
I served these at my sister's bridal shower last spring, arranging them on a long wooden board with little name cards tucked between each cup. The bridesmaids immediately started Instagramming before anyone even took a bite, which I took as the highest compliment. Watching everyone choose different toppings—the marshmallow lovers, the berry purists, the person who put everything on—reminded me that the best food lets people make it their own.
Ingredients
- 200 g dark chocolate (at least 60% cocoa), chopped: I've learned through trial and error that higher cocoa percentage makes sturdier cups that won't melt as quickly in warm hands
- 200 ml heavy cream: Chill your bowl and whisk for at least 15 minutes beforehand—cold cream whips faster and holds air better
- 100 g dark chocolate, chopped: Let this cool slightly after melting so it doesn't seize when you fold it into the cream
- 2 tbsp powdered sugar: This dissolves instantly into the cream without leaving gritty crystals behind
- 1 tsp vanilla extract: Use pure vanilla, not imitation—the flavor comes through even with all that chocolate
- 1 cup fresh mixed berries: Pat them dry with paper towels so they don't make the mousse weep
- 2 tbsp chopped nuts: Toast them lightly in a dry pan for 2 minutes to bring out their natural oils
- 2 tbsp mini marshmallows: These add such fun texture and remind everyone that dessert should be playful
- 2 tbsp chocolate curls or shavings: Use a vegetable peeler on a room-temperature chocolate bar for perfect curls
- 1 tbsp edible gold leaf or pearls (optional): A tiny bit goes such a long way—just press them onto the berries or cream
Instructions
- Craft the chocolate cups:
- Melt your dark chocolate slowly in 30-second bursts, stirring between each, until it's glossy and smooth. Working quickly, paint the melted chocolate up the sides of your cupcake liners—aim for about 1/8 inch thickness so they're sturdy but still delicate. Chill for exactly 20 minutes, no more, or they might become brittle and crack when you remove the liners.
- Whip up the mousse:
- Melt your second batch of chocolate and set it aside to cool while you whip the cold cream with sugar and vanilla until soft peaks barely hold their shape. Gently fold about one-third of the whipped cream into the chocolate to lighten it, then carefully fold that mixture back into the remaining cream—don't overmix or you'll lose all that lovely air you just whipped in.
- Build your grazing cups:
- Fill each chocolate cup about two-thirds full with mousse, then have fun with the toppings—cluster berries on one cup, go heavy on marshmallows for another, maybe create a nut-covered masterpiece for a third. Let your assembled cups chill for at least 20 minutes so the mousse firms up slightly, making them easier to eat and transport.
 Pin It
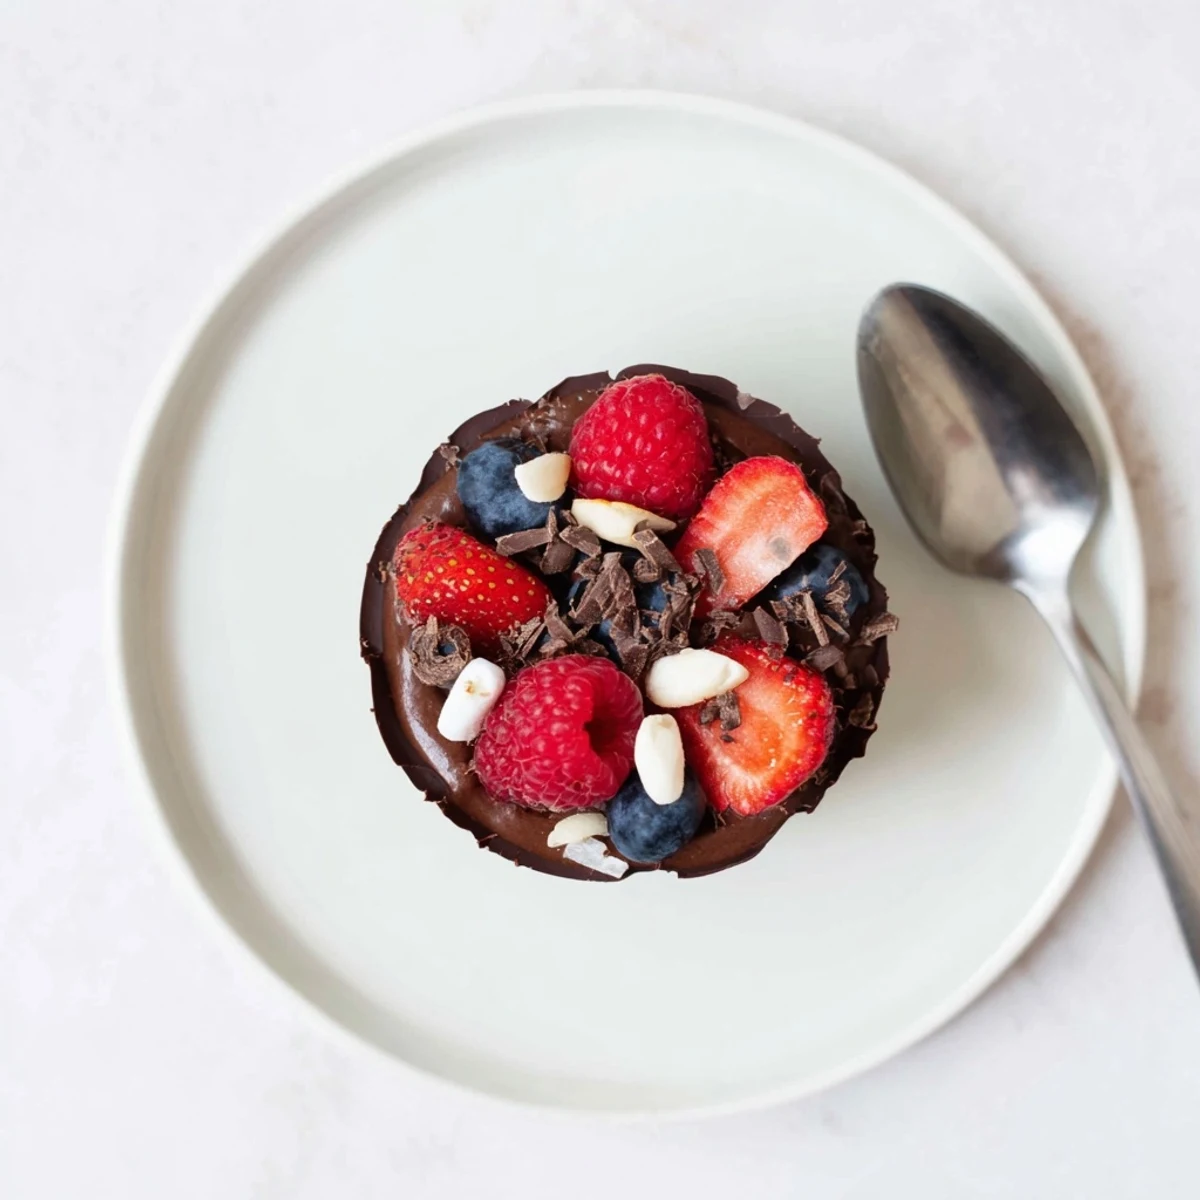
 My friend's daughter asked if she could take home the empty chocolate cup after finishing hers, licking every last trace of mousse from inside. That's when I knew these weren't just dessert—they were an experience. There's something so satisfying about eating the container, like breaking all the rules you learned as a child about not playing with your food.
Making Chocolate Cups That Actually Work
The trick is getting the chocolate thick enough to hold its shape but thin enough to bite through easily. I count to five while brushing each liner—it's just long enough to coat evenly without pooling too much at the bottom. And silicone liners release so much more cleanly than paper ones, leaving you with perfectly smooth cups every time.
Getting That Restaurant-Style Mousse Texture
The folding step is where everything can go wrong, but also where magic happens if you're patient. I use my spatula like I'm folding a letter—scoop from the bottom, gently fold over, rotate the bowl a quarter turn, repeat. Thirty careful folds give you that cloud-like texture that practically melts on your tongue, while rushing leaves you with dense, disappointing chocolate pudding.
The Art of Assembly
I've found that grouping similar toppings together—three cups with berries, three with marshmallows—looks more curated than randomly distributing everything. The colors create this natural rhythm on the serving platter that draws people in before they even realize what they're looking at.
- Set up your toppings in small bowls beforehand so assembly feels like a fun assembly line
- Use different sizes of berries for visual interest—tiny blueberries alongside plump strawberries
- Pop any stray chocolate curls or nuts back into the bowl before serving to keep the display tidy
 Pin It
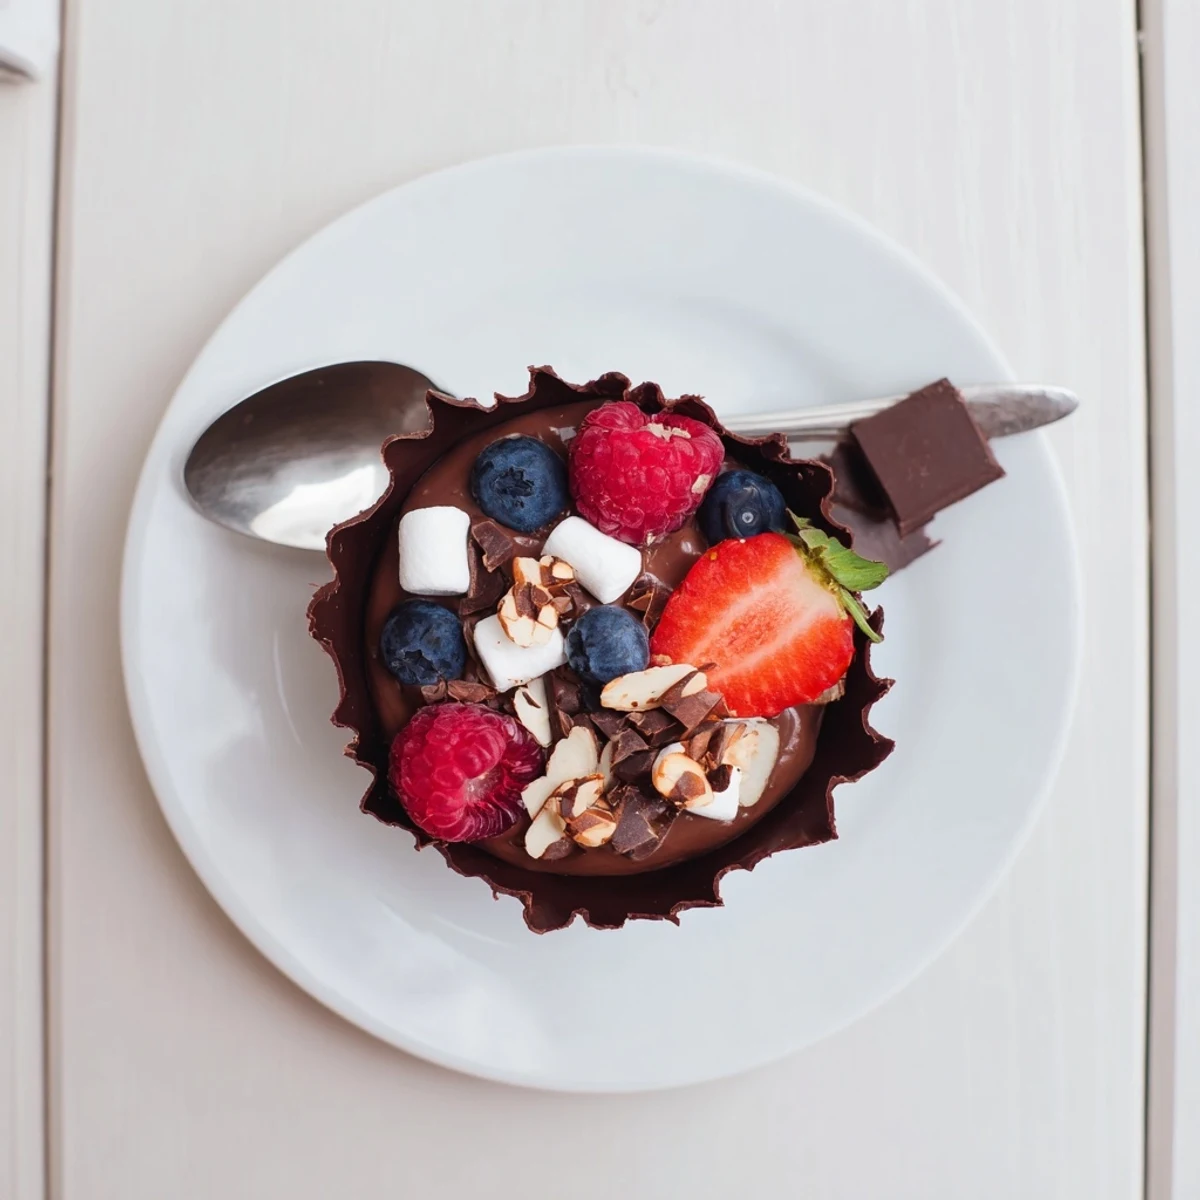
 These cups have become my signature sweet ending, the thing people actually remember weeks after the party. There's pure joy in watching someone realize they get to eat the whole thing, container and all.
Recipe Questions
- → How far in advance can I make chocolate grazing cups?
-
Best made on the day of serving for optimal texture. You can prepare chocolate cups and mousse separately up to 24 hours ahead, storing cups in an airtight container and mousse refrigerated. Assemble just before serving.
- → What variations work well with this dessert?
-
Substitute white or milk chocolate for either the cups or mousse layer. Add orange liqueur for adult versions, or use different seasonal fruits. Nut toppings can be swapped for crushed cookies or pretzels for varied crunch.
- → Do I need special equipment for making chocolate cups?
-
Silicone or paper cupcake liners work perfectly for molding. A pastry brush helps create even layers, though a spoon works too. No specialized chocolate molds required—everything can be prepared with basic kitchen tools.
- → How do I prevent chocolate cups from cracking when removing liners?
-
Ensure chocolate is completely set before attempting removal—chill for at least 20 minutes. Gently peel liners starting from the top edge. If stubborn, let sit at room temperature for 30 seconds before continuing.
- → Can these be made dairy-free or vegan?
-
Use dairy-free dark chocolate and coconut cream or plant-based whipping cream alternative. Ensure all toppings like marshmallows are vegan-friendly. Texture remains excellent with quality dairy-free substitutions.
- → What's the best temperature for serving?
-
Serve chilled straight from the refrigerator for firm texture. The mousse holds its shape better when cold, and chocolate cups maintain structural integrity. Allow to sit 5 minutes before eating if very firm.