 Pin It
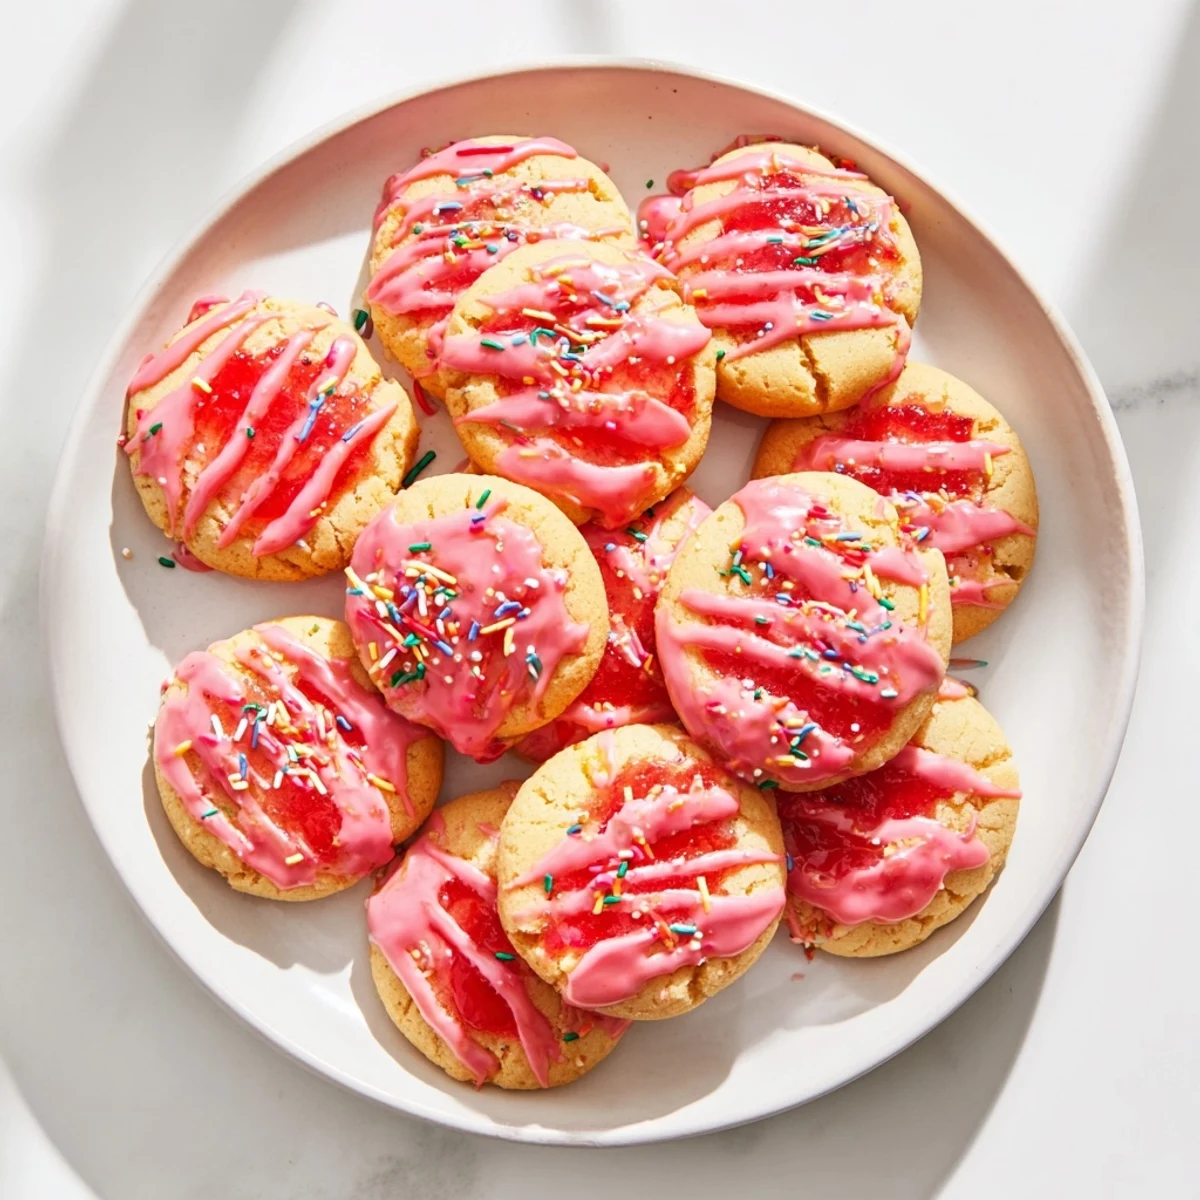
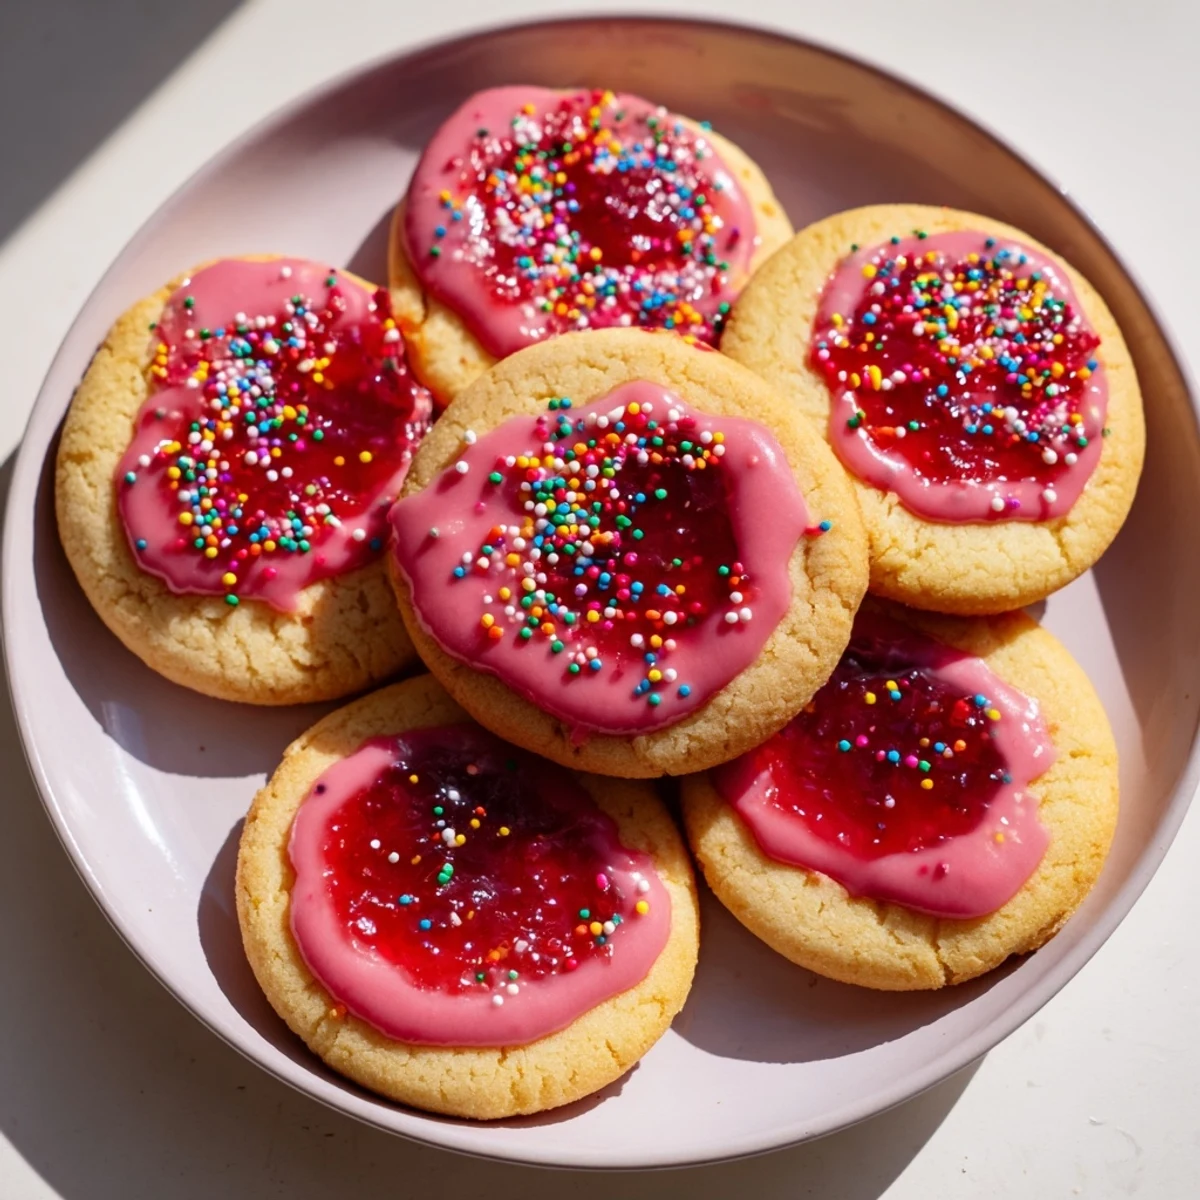
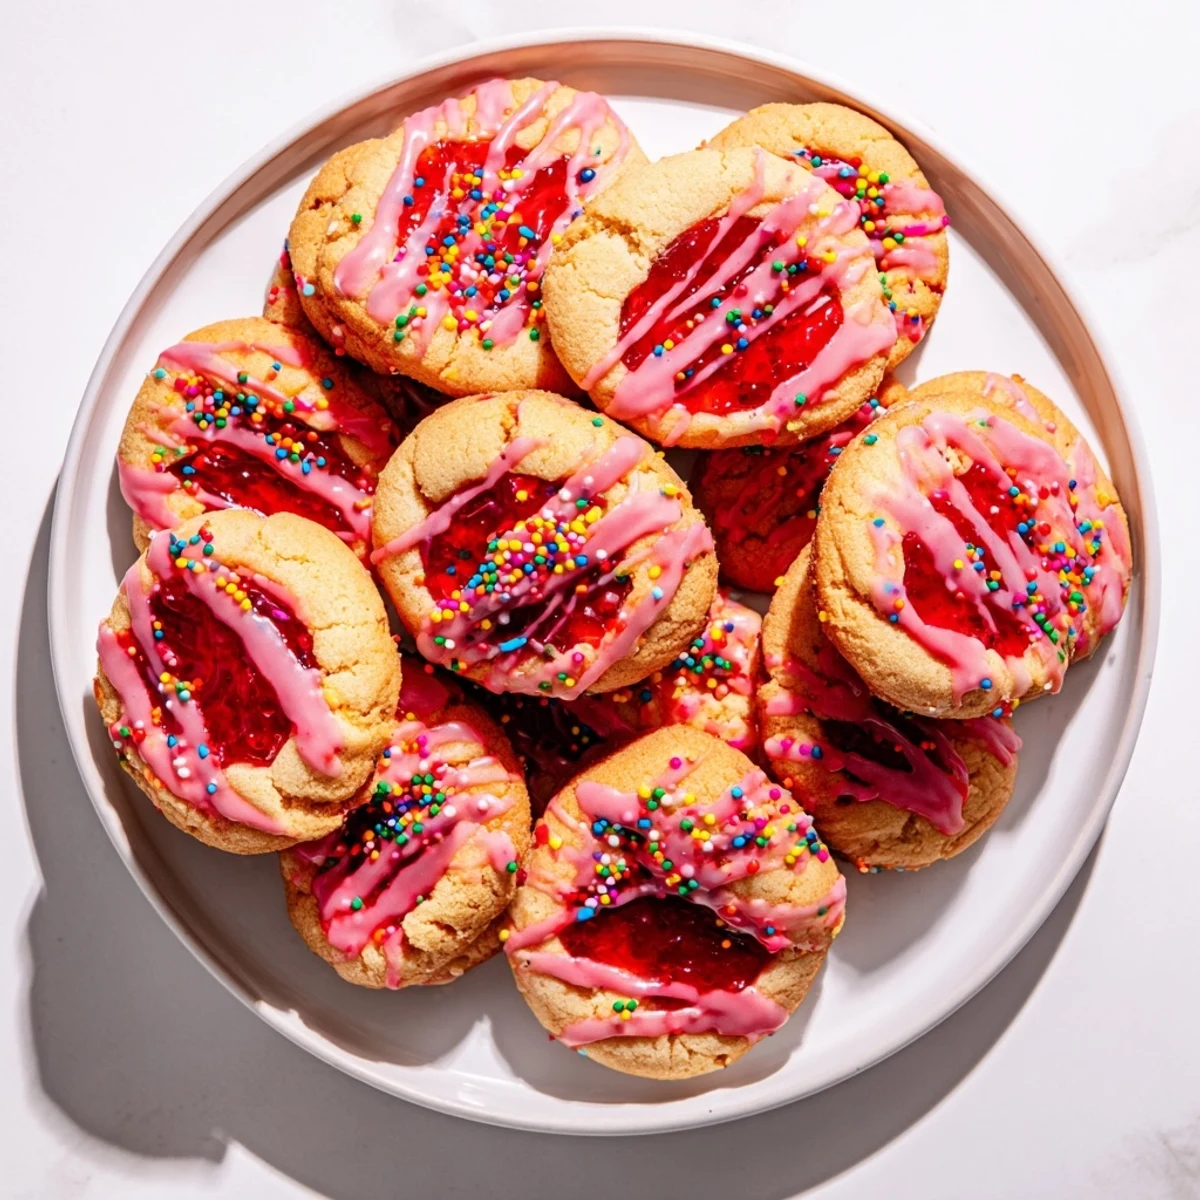
 These soft, buttery cookies capture the nostalgic flavor of strawberry Pop-Tarts in a homemade treat. Each cookie features a tender vanilla dough wrapped around sweet strawberry jam filling, then finished with a vibrant pink glaze and colorful sprinkles. The process is simple: cream butter and sugars, fold in jam-filled dough centers, bake until golden, and drizzle with the easy vanilla glaze.
Perfect for dessert, snack time, or lunchboxes, these cookies stay fresh for days when stored properly. The filling can be customized with raspberry, blueberry, or apricot preserves for variety. Make sure to let them cool completely before glazing for that picture-perfect finish.
The smell of strawberry jam oozing out of a warm Pop-Tart is one of those sensory memories that hits you right in the chest, and turning that into a cookie felt like the most obvious and overdue thing I could do in my kitchen. These soft, jam-filled cookies capture everything I loved about Saturday morning cartoons and foil-wrapped pastries, but with a buttery homemade dough that leaves the boxed version far behind. A colorful glaze and a generous shower of sprinkles make them impossible to resist. They are whimsical, nostalgic, and dangerously easy to eat.
My niece walked into the kitchen while I was testing these, took one look at the pink glaze dripping off a cookie, and declared them princess food. She ate three before dinner and I did not stop her because honestly I had already eaten four.
Ingredients
- All-purpose flour (2 1/4 cups, 280 g): Provides the sturdy but tender structure these cookies need to hold their jam filling without falling apart.
- Baking powder (1/2 teaspoon): Just enough lift to keep the cookies soft without turning them cakey.
- Salt (1/2 teaspoon): Balances the sweetness and makes the butter flavor sing.
- Unsalted butter (3/4 cup, 170 g), softened: The backbone of the dough, so use good butter and let it truly come to room temperature for the best creaming results.
- Granulated sugar (3/4 cup, 150 g): Delivers clean sweetness and helps achieve those slightly crisp edges.
- Light brown sugar (1/4 cup, 50 g): Adds a subtle caramel depth that makes these taste homemade rather than factory-made.
- Large eggs (2): Bind everything together and contribute to the chewy interior.
- Vanilla extract (2 teaspoons): Rounds out the flavor and bridges the gap between buttery cookie and fruity jam.
- Strawberry jam or preserves (3/4 cup, 210 g): The heart of the cookie, so pick a jam you would happily eat on toast because its quality makes all the difference.
- Powdered sugar (1 cup, 120 g): Creates that smooth, sweet glaze reminiscent of the frosted top of a Pop-Tart.
- Milk (2 tablespoons): Thins the glaze to the perfect drizzling consistency.
- Vanilla extract (1/2 teaspoon, for glaze): A little extra warmth in the glaze goes a long way.
- Pink or red food coloring (optional): Purely for fun and that iconic Pop-Tart look.
- Sprinkles: Non-negotiable if you want the full experience.
Instructions
- Prep your oven and pans:
- Heat the oven to 350 degrees F (175 degrees C) and line two baking sheets with parchment paper so nothing sticks and cleanup is effortless.
- Whisk the dry ingredients:
- In a medium bowl, combine the flour, baking powder, and salt with a whisk until evenly distributed, then set it aside.
- Cream the butter and sugars:
- Beat the softened butter, granulated sugar, and brown sugar together in a large bowl with an electric mixer until the mixture turns pale and fluffy, about two to three minutes.
- Add eggs and vanilla:
- Beat in the eggs one at a time, letting each fully incorporate before adding the next, then pour in the vanilla extract and mix until fragrant.
- Bring the dough together:
- Gradually add the dry ingredients to the wet mixture on low speed, mixing just until the last streak of flour disappears because overmixing makes tough cookies.
- Stuff and shape the cookies:
- Scoop two-tablespoon portions of dough, flatten each into a small disc in your palm, place one teaspoon of strawberry jam in the center, then fold the dough over the jam, pinch the edges to seal it completely, and roll it gently into a ball.
- Arrange for baking:
- Place the filled dough balls on the prepared baking sheets with two inches of space between them so they have room to spread without merging into each other.
- Bake to golden perfection:
- Bake for eleven to thirteen minutes until the edges are set and lightly golden while the centers still look slightly underbaked, which ensures a soft cookie once cooled.
- Cool properly:
- Let the cookies rest on the baking sheet for five minutes to firm up, then transfer them to a wire rack to cool completely before even thinking about glaze.
- Glaze and celebrate:
- Whisk the powdered sugar, milk, vanilla, and a drop or two of food coloring until smooth and pourable, then drizzle generously over the cooled cookies and scatter sprinkles on top before the glaze sets.
 Pin It
 I packed a tin of these for a road trip last summer and by the time we hit the highway exit, my husband had eaten half of them and was brushing pink sprinkles off his shirt while pretending he had only had two.
Swapping the Jam Flavor
Raspberry, blueberry, or apricot jam all work beautifully here and each one gives the cookie a completely different personality. I once used a tart cherry preserves and the slight sourness against the sweet glaze was so good I nearly burned the second batch because I kept eating the first one straight off the rack.
Storage That Keeps Them Soft
An airtight container at room temperature keeps these cookies soft and fresh for up to four days, though they rarely last that long in any house I have brought them to. Place a sheet of parchment between layers so the glaze does not smudge onto the cookie below.
Getting the Glaze Right
The glaze should be thick enough to coat the back of a spoon but thin enough to drip slowly off the edges, and you can adjust with tiny splashes of milk or dustings of powdered sugar until it looks right.
- Add food coloring one drop at a time because it intensifies quickly and you can always add more but cannot take it away.
- Work in small batches when glazing so the sprinkles stick before the surface dries.
- A fork makes a perfectly fine drizzling tool if you do not have a piping bag.
 Pin It
 These cookies are pure joy on a baking sheet, and every time I make them, someone asks for the recipe before the glaze has even dried.
Recipe Questions
- → Can I use different jam flavors?
-
Yes! Raspberry, blueberry, apricot, or mixed berry preserves all work beautifully. Choose your favorite or try multiple flavors for variety.
- → How do I store these cookies?
-
Store in an airtight container at room temperature for up to 4 days. Place parchment paper between layers to prevent sticking.
- → Can I freeze the dough?
-
Yes, freeze the filled dough balls on a baking sheet until firm, then transfer to a freezer bag. Bake from frozen, adding 1-2 minutes to the baking time.
- → Why did my jam leak out during baking?
-
Ensure the dough is completely sealed around the jam filling by pinching the edges tightly. If the dough is too warm, chill it briefly before filling.
- → Can I make these without food coloring?
-
Absolutely! The glaze is delicious without coloring, or you can use a small amount of strawberry jam to naturally tint it pink.
- → Can I use salted butter?
-
Yes, simply reduce the added salt in the dough to 1/4 teaspoon to compensate for the salted butter.