 Pin It
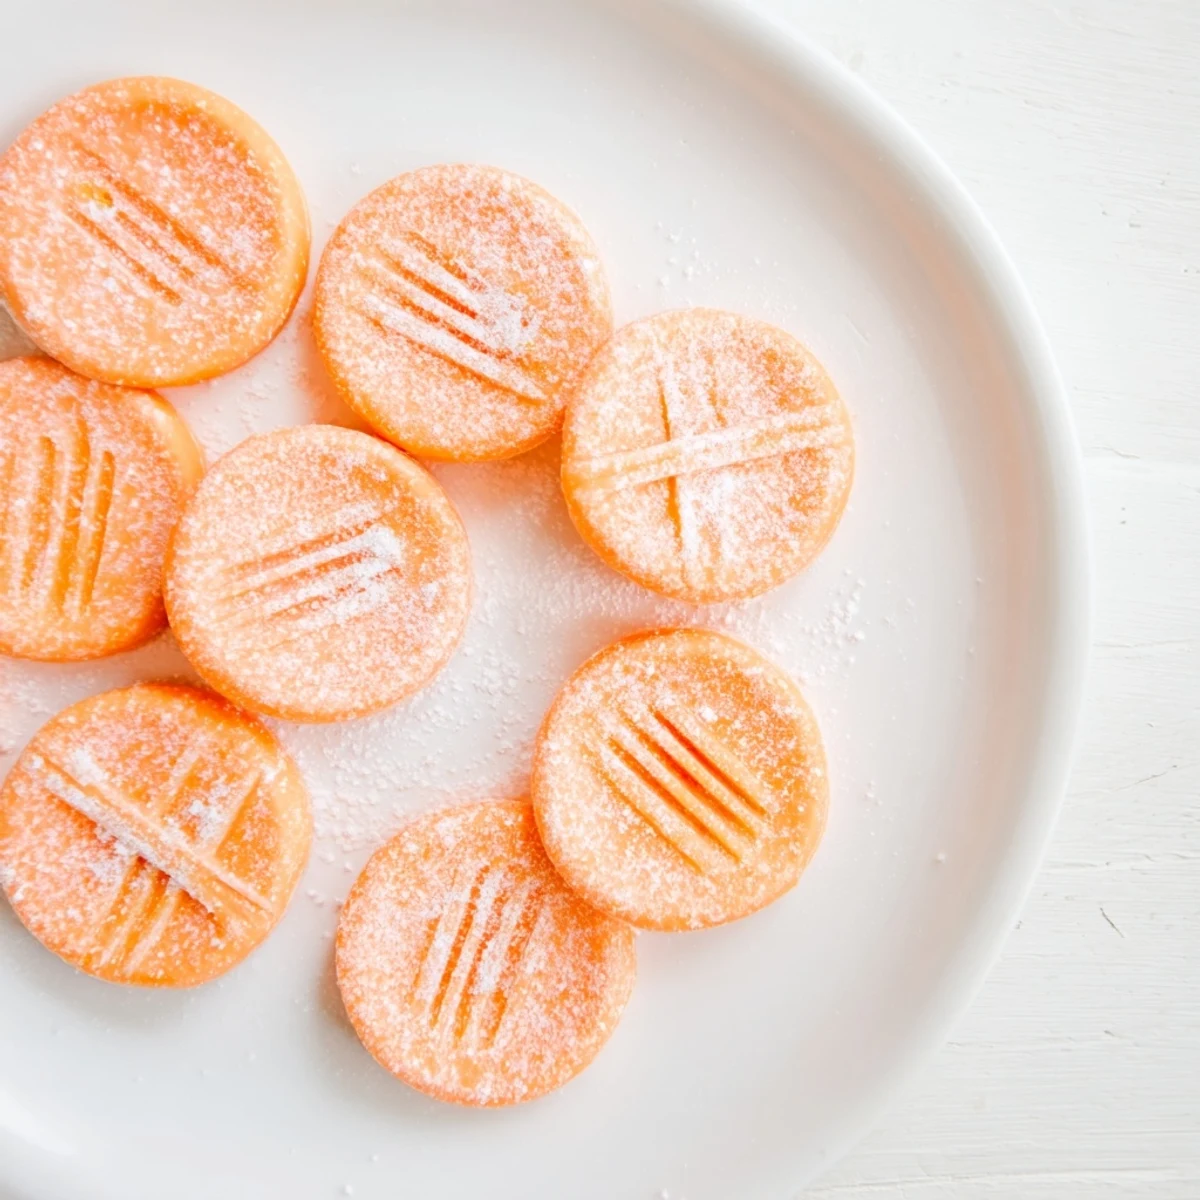
 These delightful orange cream cheese mints combine smooth cream cheese with bright citrus flavor for a confection that literally melts in your mouth. The dough comes together quickly with just a few ingredients—cream cheese, butter, orange extract, and powdered sugar.
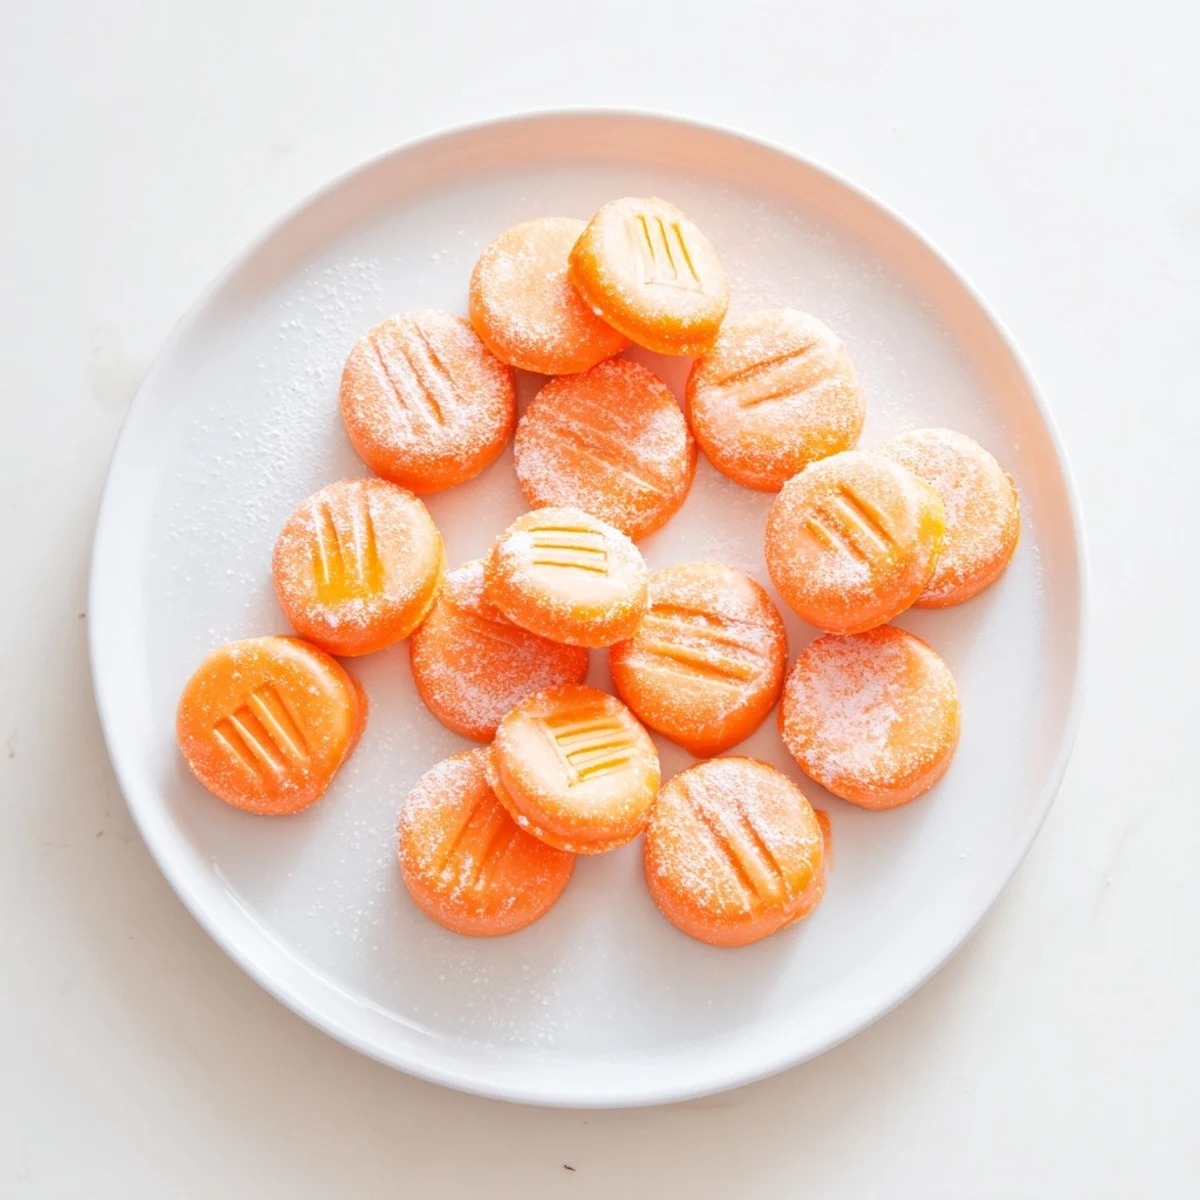
After mixing, simply roll into balls, flatten with a fork, and chill until firm. The result is about 60 smooth, creamy mints with a refreshing orange essence. You can customize the food coloring to match any event theme, from baby showers to wedding receptions.
These mints store beautifully for up to a week in the refrigerator or freeze for two months, making them perfect for advance prep. The texture is incredibly smooth and the orange flavor is bright without being overpowering.
The first time I made these orange cream cheese mints, I was helping my best friend prep favors for her wedding. We stayed up until 2 AM, laughing covered in orange dust, shaping tiny mints while the playlist cycled through our college anthems. Now whenever I taste that bright citrus-cream flavor, I'm transported back to that kitchen island, surrounded by ribbon samples and half-assembled centerpieces.
Last Christmas, I tripled the batch and packed them into little tins for everyone on my list. My brother called two days later asking if I'd hidden anything special in them because he couldn't stop eating them. Sometimes the simplest recipes become the most requested.
Ingredients
- Cream cheese: Make sure it's properly softened or you'll get lumps that won't smooth out no matter how long you beat it
- Unsalted butter: Lets you control the sodium since these mints should be sweet, not savory
- Orange extract: Pure extract gives the cleanest flavor but if you can only find imitation, start with less and taste as you go
- Powdered sugar: Sifting first prevents those tiny white lumps that never quite incorporate into the dough
- Orange food coloring: A tiny bit goes a long way so start with one drop and add more gradually
- Extra powdered sugar: Keep this nearby for dusting your hands and work surface to prevent sticking
Instructions
- Beat the creamy base:
- In a medium bowl, whip the softened cream cheese and butter until completely smooth with no lumps remaining.
- Add the orange essence:
- Pour in the orange extract and food coloring then mix until evenly distributed throughout the cream mixture.
- Build the dough:
- Gradually incorporate powdered sugar, half a cup at a time, until the dough pulls away from the bowl sides and feels smooth like playdough.
- Taste and adjust:
- Take a tiny taste and add more extract if the orange needs a boost or more sugar if it feels too soft.
- Shape the mints:
- Dust your workspace with powdered sugar, roll dough into small balls then flatten gently with a fork.
- Chill until firm:
- Arrange mints on parchment paper, cover and refrigerate for at least one hour before serving or packaging.
 Pin It
 My niece discovered she could press different fork patterns into each one and suddenly we had a whole production line going. Now it's our holiday tradition to make them together while watching cheesy Christmas movies.
Getting The Texture Right
The dough should feel like soft modeling clay when it's ready to shape. If it's sticking to everything, add more sugar. If it's cracking when you try to flatten it, your kitchen might be too dry or you've added too much sugar.
Custom Colors For Every Occasion
For baby showers, try soft pastel pink or blue. Holiday parties look gorgeous with deep red or green gel coloring mixed in. I've even made these in team colors for tailgates using food coloring gels which give more vibrant shades than liquid.
Packaging And Gifting
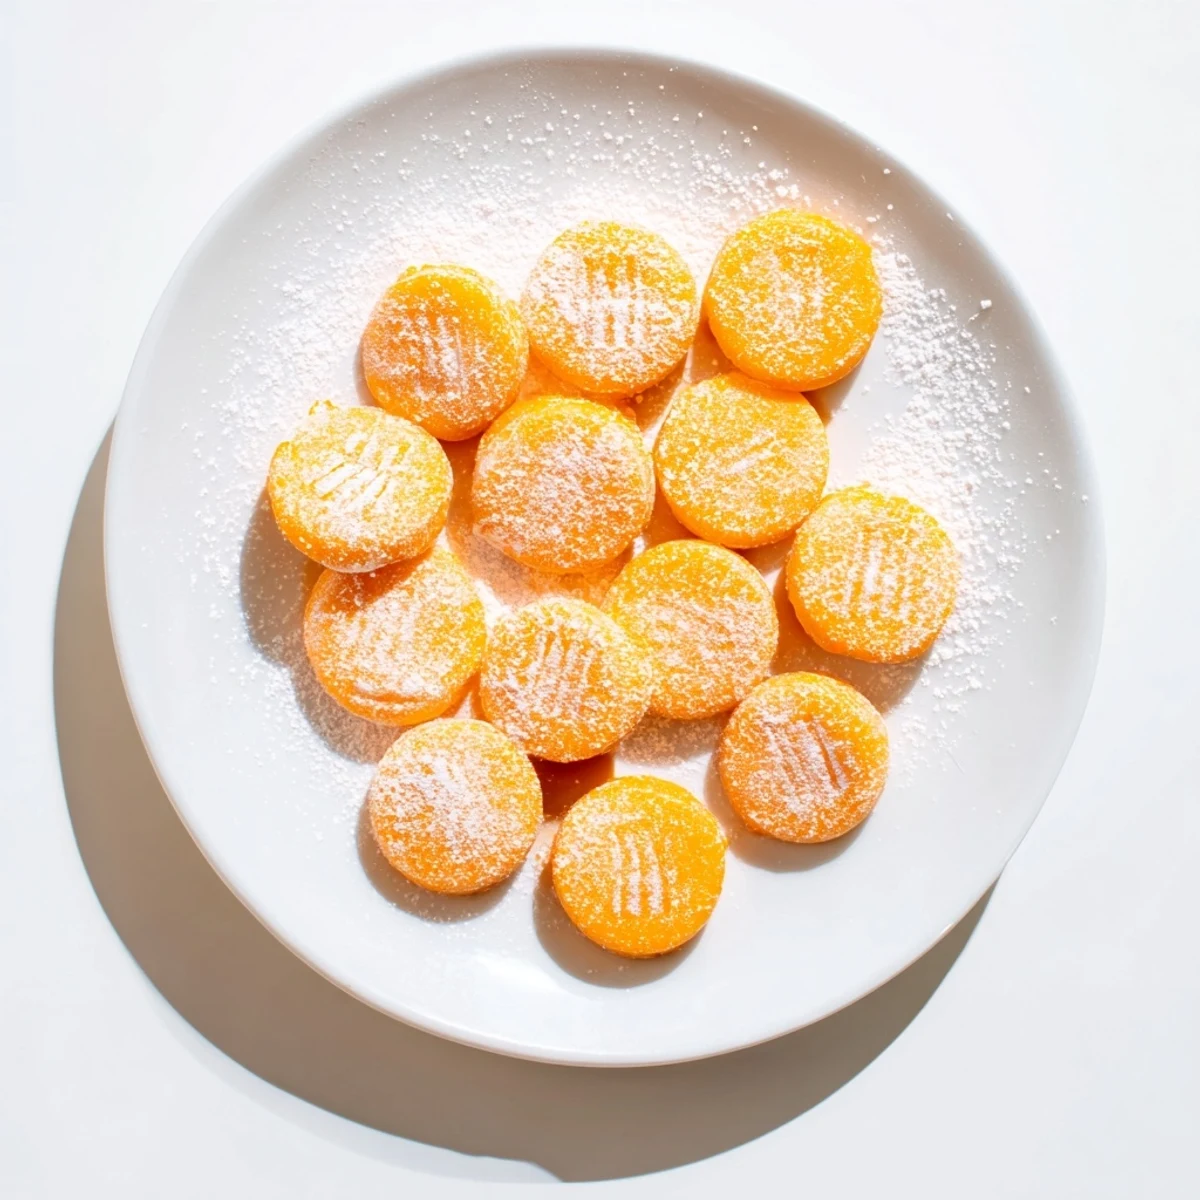
Layer these between wax paper in airtight containers to prevent them from sticking together. For gifting, clear candy bags tied with ribbon show off that beautiful orange color perfectly.
- Nestle them in mini cupcake liners for an elegant presentation
- Freeze unshaped dough for up to two months then thaw and roll fresh
- These ship surprisingly well when packed tightly with tissue paper
 Pin It
 Every time someone pops one of these mints into their mouth and gets that surprised look at how creamy they are, I remember that wedding prep kitchen. Some recipes are just meant to be shared.
Recipe Questions
- → How long do these orange mints need to chill?
-
The mints need to chill for at least 1 hour until firm. This chilling time is essential for the dough to set properly and develop the characteristic melt-in-your-mouth texture. You can leave them longer if needed—they'll only become firmer and easier to handle.
- → Can I use lemon extract instead of orange?
-
Absolutely! Lemon extract works beautifully in this same recipe and creates lovely lemon cream cheese mints. You could also use almond extract, peppermint, or vanilla for different flavor variations. Just keep the same measurements and adjust the food coloring accordingly.
- → Why is my dough too sticky to roll?
-
If the dough feels sticky, simply add more powdered sugar, about 1/4 cup at a time, until it forms a soft workable dough. The exact amount needed can vary depending on humidity and the moisture content of your cream cheese and butter.
- → How should I store these mints?
-
Store your mints in an airtight container in the refrigerator for up to one week. For longer storage, freeze them for up to two months. Separate layers with parchment paper to prevent sticking. Let frozen mints thaw in the refrigerator before serving.
- → Can I make these without food coloring?
-
Yes, the food coloring is entirely optional. The mints will have a natural cream color without it, and they'll taste just as delicious. Some prefer the classic cream-colored look for certain occasions or to avoid artificial dyes.
- → What's the best way to get uniform mints?
-
Use a small cookie scoop or measuring spoon to portion equal amounts of dough. Aim for 3/4-inch (2 cm) balls for consistent sizing. When flattening, apply even pressure and use the same technique for each mint to ensure they look uniform on your serving tray.