 Pin It
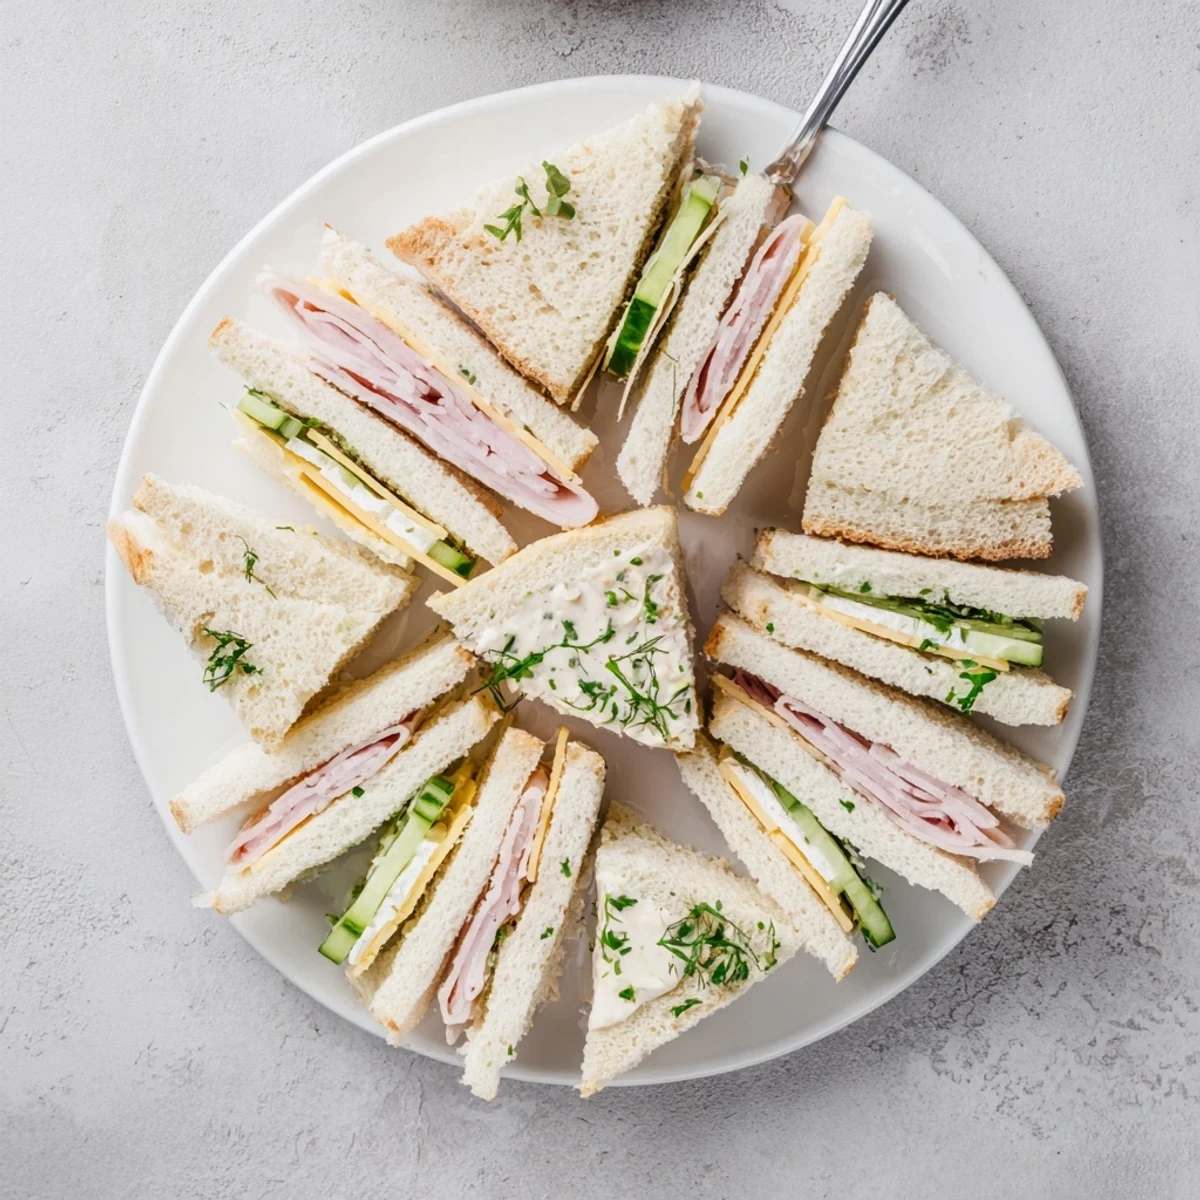
 These mini sandwiches are assembled on soft sandwich bread using spreads like mayonnaise or cream cheese, then layered with cheddar, thinly sliced cucumber, tomato and lettuce. For variety, add ham, turkey, smoked salmon, or roasted vegetables and trim crusts before cutting into quarters.
Ready in about 20 minutes with no cooking required, they hold well refrigerated and garnish nicely with fresh herbs, pickles or olives for a party platter.
The soft snap of bread crust against the board and a scatter of crumbs set the scene the first time I made mini sandwiches for a last-minute picnic. I had barely glanced at the clock, and everyone seemed ready to burst into the kitchen and start eating before I could finish. What began as an experiment in sandwich layering quickly became an exercise in using what I had—and hoping I could make it feel a touch special. There's something quietly thrilling about transforming simple ingredients into bites people love to reach for.
Once, when I made these sandwiches for a friend’s book club, laughter bubbled from the next room while I experimented with fancy garnishes in the kitchen. Some fillings toppled; some looked lopsided, but by the time the tray landed on the table, everyone seemed to suddenly drift from conversation to sampling. I caught snippets of ‘which one did you try’ and ‘what’s in this one’—the perfect reward for a little creative mess.
Ingredients
- Bread: Choose a soft loaf—white, whole wheat, or even a mix add lovely color and texture side by side.
- Mayonnaise: Go for classic or lemony mayo for tang; spread with a light hand for balance.
- Cream cheese: Softened cream cheese gives a creamy, rich layer that's smooth enough to coax fussy edges together.
- Cheddar cheese: A sharp, thin slice brings that perfect chew and flavor kick.
- Ham or turkey: Add for variety—stack thin to avoid overwhelming the sandwich; skip for vegetarian versions.
- Cucumber: Thin slices lend freshness—pat dry to avoid soggy bread corners.
- Tomato: Slices add juiciness and color; keep them thin to prevent sliding layers.
- Lettuce: Crisp leaves provide a lovely crunch; dry them well to prevent limpness.
- Salt and pepper: Just a pinch for each sandwich is plenty and wakes up the flavors.
- Fresh herbs: Chives or parsley work beautifully sprinkled atop for a bright finish.
- Pickles or olives: A playful garnish that offers a burst of tang—secure with toothpicks for extra flair.
Instructions
- Work the Base:
- Lay out your bread slices like tiles, letting the smell of fresh bread fill the air. If you're feeling fancy, alternate white and wheat for a playful mosaic.
- Spread the Love:
- Swipe mayonnaise or cream cheese over each slice, listening for the soft scrape as you cover every corner.
- Layer with Care:
- On half, layer cheddar and ham or turkey if using; the other half gets neat rows of cucumber, tomato, and lettuce. Sprinkle on salt and pepper, and swap in fillings as taste or mood suggests.
- Assemble and Press:
- Top everything with the remaining bread slices, then gently press down so the fillings settle together just right.
- Edge and Trim:
- Using a sharp knife, carefully cut away crusts for a classic look or leave them on for rustic bites—your call.
- Divide and Conquer:
- Slice each sandwich into four small squares or triangles, listening for that satisfying knife crunch.
- Dress and Display:
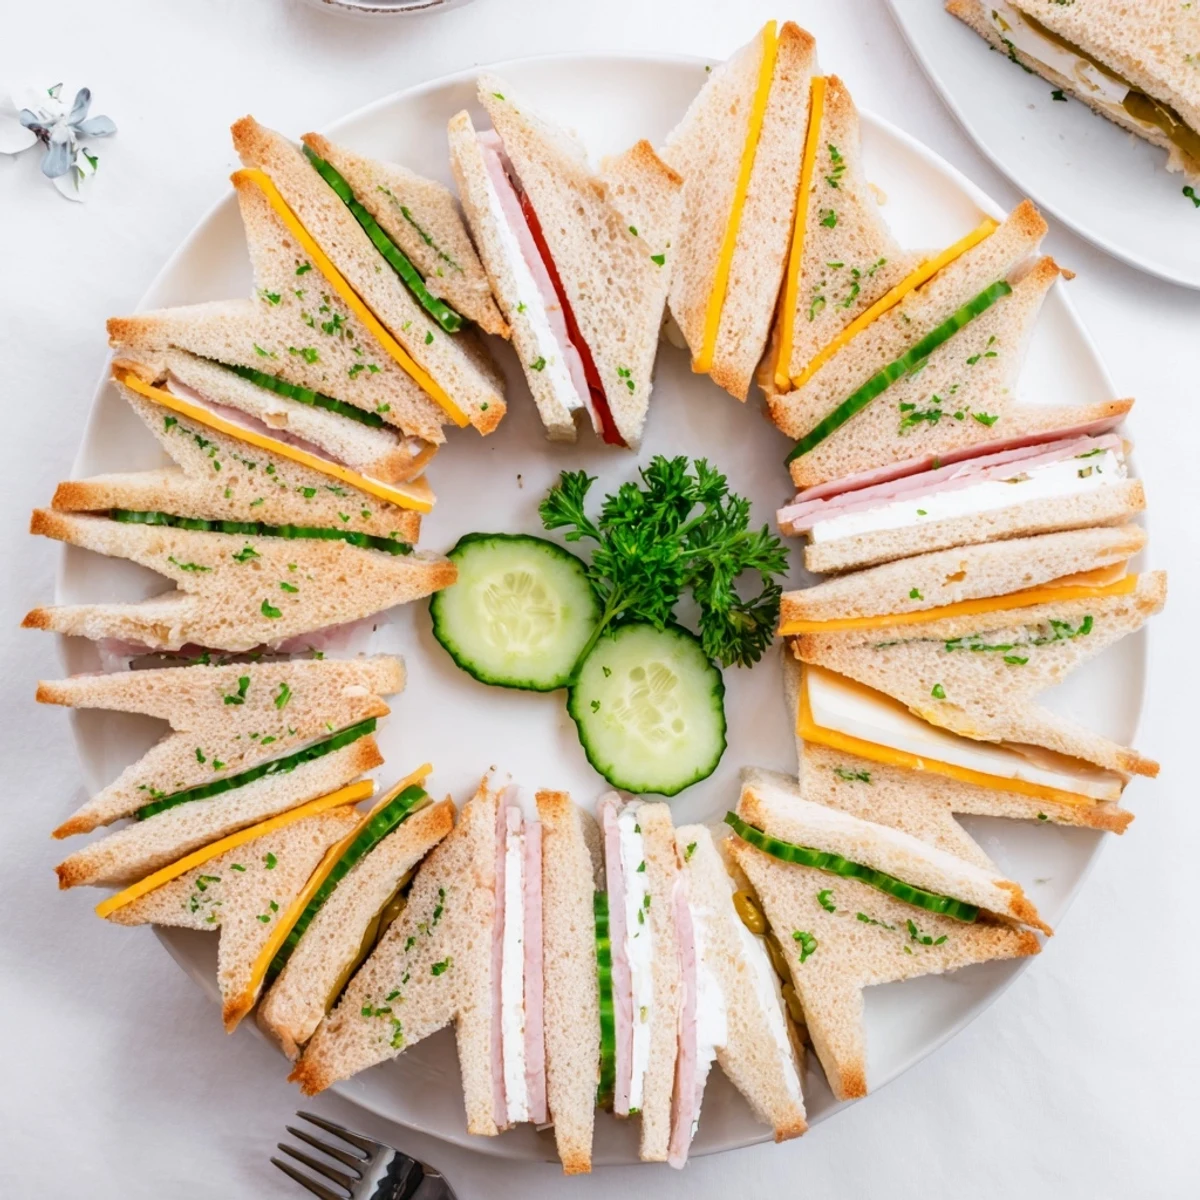
- Arrange the mini sandwiches on a platter, sprinkle with herbs, and add a pickle or olive if you like. Cover lightly with a damp paper towel and refrigerate if not serving right away to keep them soft.
 Pin It
 There was one afternoon when my cousin’s toddler grabbed a mini sandwich, took a huge bite, and then giggled so loudly crumbs flew everywhere. In that moment, these simple little sandwiches turned into a tiny party all on their own. Later, the grownups followed suit, squabbling over the last piece to dip in mustard—proof that good snacks have their own way of gathering people together.
Secrets for a Perfect Platter
If you let your sandwiches rest, covered, in the fridge for a short while, everything melds together beautifully and slicing gets much easier. I’ve learned to use a sheet of wax paper in between stacks to keep them from sticking, especially if you’re traveling or expecting a crowd. The best looking platters always have a jumble of shapes and colors—no need for perfection.
Creative Filling Ideas
Once you’ve mastered the basics, swap in smoked salmon, roasted veggies, or egg salad for crowd-pleasing new bites. My favorite impromptu version came from leftover grilled peppers and a swipe of pesto, totally transforming a simple lunch. Mix and match so everyone finds a new favorite—just keep the layers thin so the mini sandwiches hold together.
Serving and Storage Wisdom
Arrange your mini sandwiches on a platter just before serving for soft, fresh bites that look inviting. If you’re working ahead, cover them lightly with a damp paper towel and plastic wrap to keep them from drying out, but don’t press down too hard or the bread will go flat. For picnics, stack gently in airtight containers lined with parchment.
- Slice with a steady hand for uniform shapes.
- Prep extra filling so you’re not scraping the bowl at the end.
- Always taste a finished sandwich before serving, just to be sure each layer sings.
 Pin It
 Mini sandwiches manage to brighten even the simplest gatherings. Make a few extra—no one will mind if there’s leftovers to nibble on later.
Recipe Questions
- → How do I prevent soggy sandwiches?
-
Spread a thin barrier of cream cheese or butter on the bread to protect it from moist fillings. Pat tomato and cucumber slices dry, layer sturdy ingredients like cheese between wet items, and assemble close to serving time or keep chilled under a damp towel until plating.
- → What breads work best for mini sandwiches?
-
Soft sandwich loaves—white, whole wheat, multigrain, rye or pumpernickel—are ideal. Use thinly sliced options for neat stacks; for contrast, try small rolls, crostini, or crackers for firmer bites and varied texture.
- → How can I adapt fillings for vegetarians?
-
Use cream cheese or hummus as a base and add cheddar, roasted vegetables, egg salad, smoked tofu, or marinated mushrooms. Swap deli meats for grilled aubergine, sliced roasted peppers, or herbed chickpea mash for satisfying options.
- → Can these be made ahead and stored?
-
Assemble up to an hour ahead and refrigerate covered with a damp paper towel to maintain softness. If making earlier, store components separately and dress just before serving to avoid sogginess, then trim and cut into portions when ready.
- → Any tips for cutting and presenting mini sandwiches?
-
Press sandwiches gently before trimming crusts, then cut into quarters—squares or triangles work well. Arrange on a platter with fresh herbs, small pickles or olives, and group different fillings together for easy selection.
- → How can I adjust for common allergens?
-
For dairy-free options, use plant-based spreads and cheeses. For gluten-free, substitute with gluten-free bread or lettuce wraps. Always check labels and offer clearly labeled alternatives to accommodate guests.