 Pin It
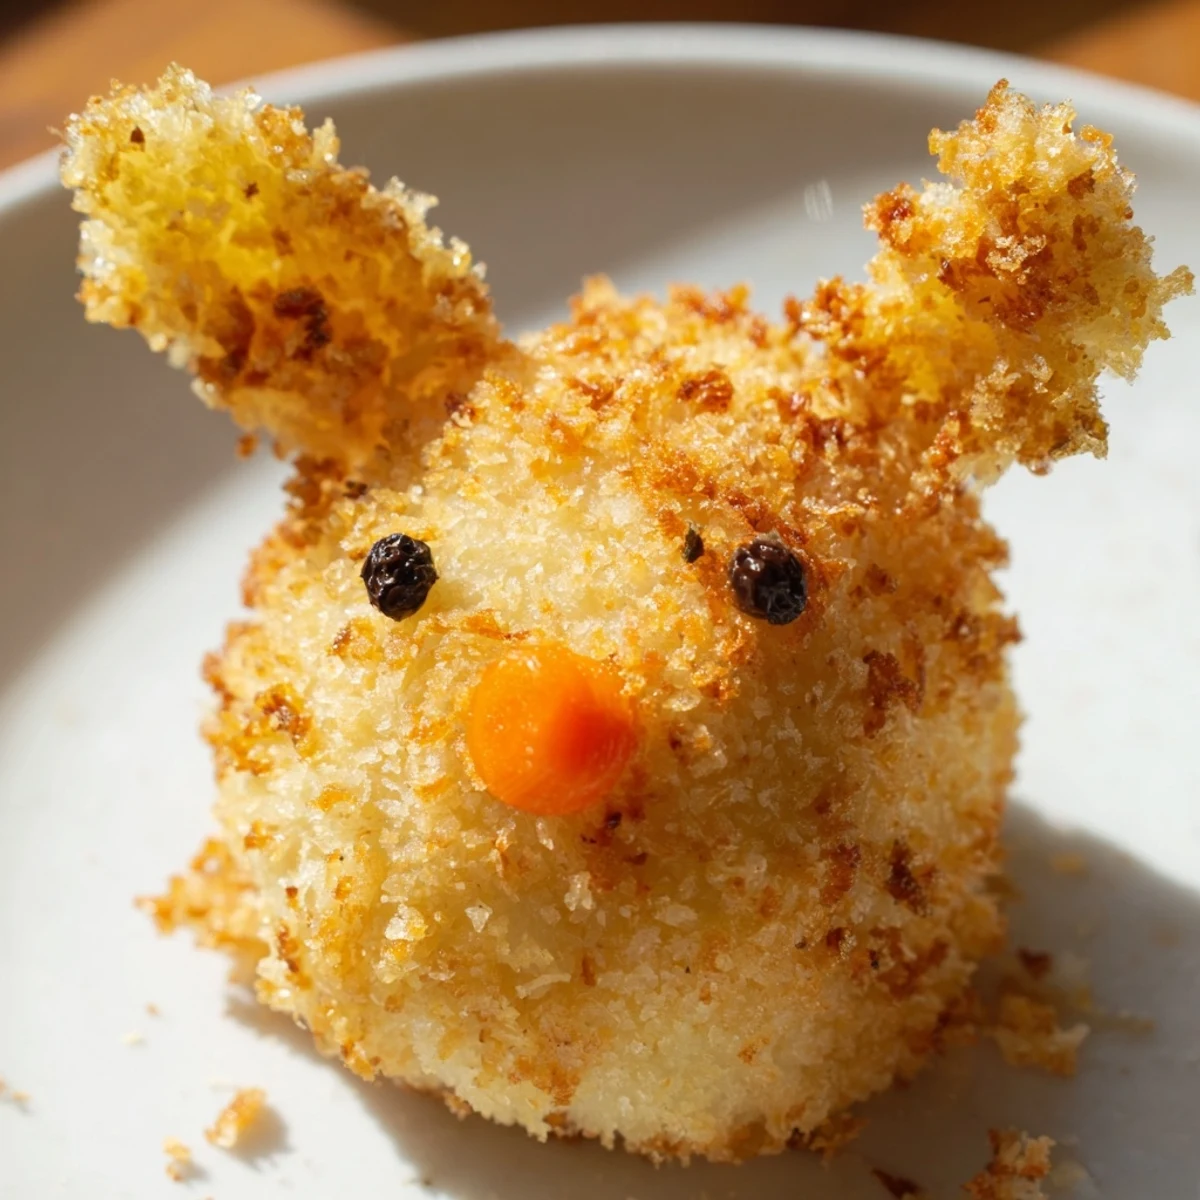
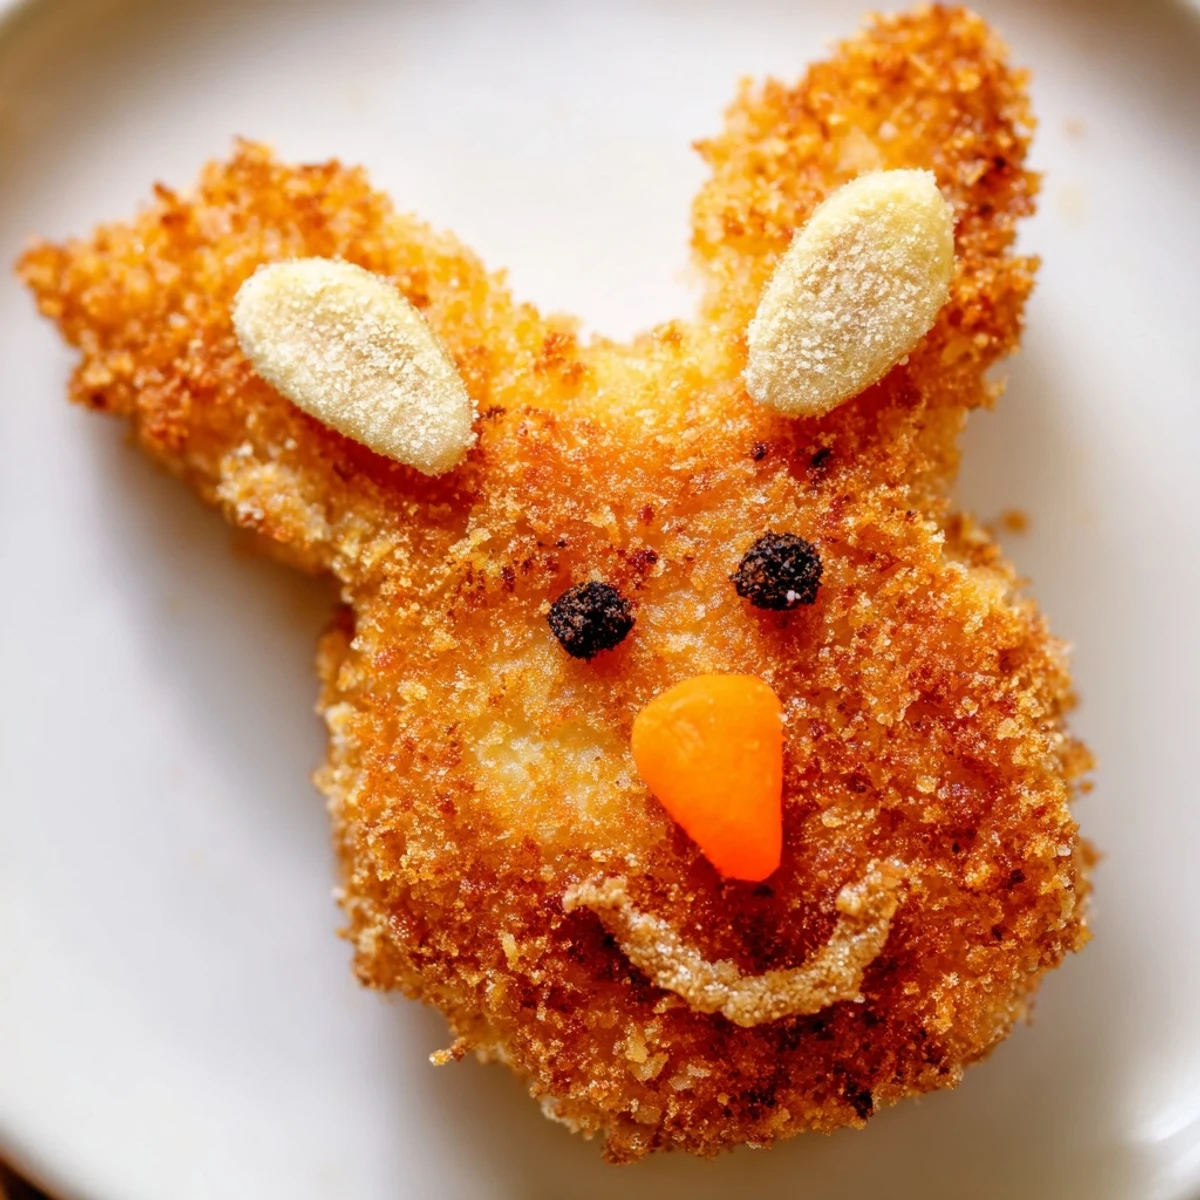
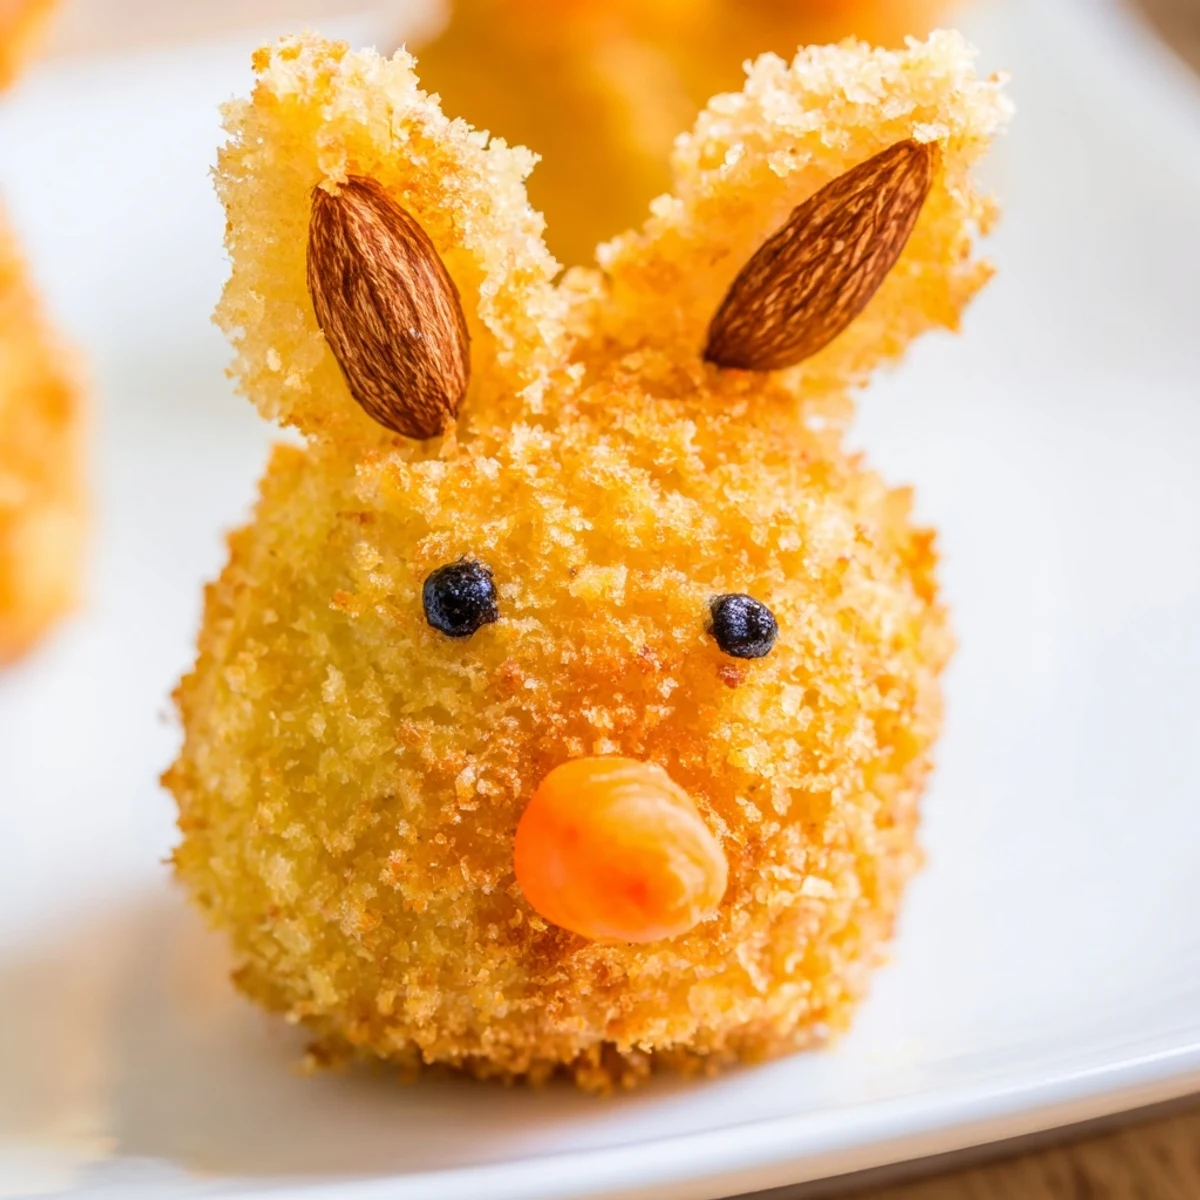
 These whimsical Easter bunny-shaped potato croquettes combine creamy mashed potatoes with butter, Parmesan, and aromatic nutmeg. Hand-formed into charming bunny heads with almond ears, peppercorn eyes, and carrot noses, each piece gets a golden crispy coating through traditional breading and frying. The result is a delightful contrast of textures—crunchy exterior giving way to light, fluffy potato interior. Perfect as appetizers or snacks, these festive treats bring joy to spring gatherings and create memorable moments for families to shape and decorate together.
My kitchen looked like an art studio that Sunday, flour dust coating every surface and twelve potato bunny faces staring up at me. I had originally planned to make simple croquettes, but the Easter season had infected me with enthusiasm. These little guys took patience, but when they emerged golden and crisp from the oil, even my skeptical teenager had to admit they were worth the effort.
Last spring I made these for our neighborhood Easter potluck, and honestly, I was nervous they would be too cute to eat. Within five minutes of setting them down, every single bunny had hopped off the platter. Three different neighbors asked for the recipe, which is basically the highest compliment a potluck dish can receive.
Ingredients
- 800 g russet potatoes: These starchy potatoes create the fluffiest interior, and waxy varieties just wont give you that light-as-air texture youre after
- 50 g unsalted butter: Room temperature butter incorporates smoothly into the mashed potatoes and adds essential richness without making the mixture too soft
- 2 egg yolks: The yolks bind everything together beautifully while adding that gorgeous golden color and extra creaminess
- 80 g grated Parmesan cheese: Freshly grated Parmesan melts into the warm potatoes and provides a savory depth that makes these actually crave-worthy, not just cute
- Salt and pepper to taste: Remember the potatoes need to be well-seasoned since the breading will add its own salt level
- 1/4 tsp ground nutmeg (optional): Just a pinch adds this warm, aromatic background note that makes people wonder what your secret ingredient is
- 60 g all-purpose flour: This first coating layer helps the egg wash adhere properly, creating the essential foundation for that final crispy shell
- 2 large eggs, beaten: Beat these thoroughly with a fork until no white streaks remain for the most even coating possible
- 100 g panko breadcrumbs: Japanese breadcrumbs create that incredibly light and airy crunch that regular breadcrumbs just cannot match
- 24 sliced almonds: These become the most adorable ears, so slice them lengthwise and choose the nicest looking ones for the tops of each bunny head
- 12 whole black peppercorns or small black olives: Press these in gently but firmly so they survive the frying process and give your bunnies their expressive eyes
- 12 small pieces of carrot: Cut tiny triangles, about the size of a pencil eraser, for the perfect bunny nose that adds a pop of color
- Vegetable oil for frying: Canola or peanut oil works perfectly here, and you want about two inches of oil in your pan for proper frying depth
Instructions
- Cook the potatoes to perfection:
- Place your diced russet potatoes in a large pot with generously salted cold water, bring to a rolling boil, and cook until a fork slides through them with absolutely no resistance, usually about 15 minutes.
- Create the smoothest potato base:
- Drain thoroughly and let the potatoes sit in the colander for about 3 minutes to steam off excess moisture, then mash until completely smooth with no lumps remaining.
- Mix in the flavor builders:
- Work in the butter, egg yolks, Parmesan, salt, pepper, and nutmeg until the mixture is perfectly uniform, then let it cool until you can comfortably handle it.
- Shape your bunny army:
- Divide the potato mixture into 12 equal portions, roll each into an oval for the bunny head, and carefully form and attach two small ear shapes to the top of each.
- Add the adorable faces:
- Press two almond slices securely into the top for ears, add peppercorns or olive pieces for eyes, and place one small carrot triangle right in the center for the nose.
- Set up your breading station:
- Arrange three shallow bowls in a row with flour in the first, beaten eggs in the second, and panko breadcrumbs in the third, making sure each is spread evenly.
- Coat each croquette carefully:
- Dredge each bunny in flour, shaking off excess, dip in the egg wash until fully coated, then press gently into the panko to ensure complete coverage.
- Fry to golden perfection:
- Heat your oil to 170°C and fry the croquettes in batches of 3 or 4 for 2 to 3 minutes per side until deeply golden brown and crisp all over.
- Let them rest briefly:
- Transfer to paper towels to drain and cool for about 5 minutes so those decorations stay securely in place and the interior sets slightly.
 Pin It
 My daughter still talks about the afternoon we made these together, her small fingers carefully placing carrot noses while I handled the hot oil. Those messy, flour-dusted moments became core memories, the kind that show up in family stories for years to come.
Making Them Ahead
You can shape and bread these beauties up to 24 hours in advance, storing them in a single layer on a parchment-lined baking sheet in the refrigerator. When you are ready to serve, simply fry them straight from the fridge and add an extra minute to the cooking time.
Dipping Sauce Ideas
A simple herbed sour cream made with fresh dill, chives, and a splash of lemon juice cuts through the richness perfectly. Garlic aioli or a spicy paprika mayo also work beautifully if you want to kick up the flavor profile.
Getting Kids Involved
Children absolutely love helping with the decorating phase of this recipe, and it turns cooking into a creative family activity. Set up a decorating station with bowls of the various facial features and let each child design their own unique bunnies.
- Have extra almond slices on hand since some will inevitably break or get dropped
- Keep wet wipes nearby for sticky fingers
- Consider making a few plain croquettes in case any decorations fall off during frying
 Pin It
 These little potato bunnies have become our most-requested Easter dish, and honestly, I look forward to that Sunday in the kitchen every year. Hope they bring as much joy to your table as they have to ours.
Recipe Questions
- → How long do these bunny-shaped treats stay fresh?
-
These potato treats are best enjoyed fresh and crispy within 2-3 hours of frying. However, you can prepare the shaped, breaded bunnies ahead and refrigerate for up to 24 hours before frying. For longer storage, freeze unbreaded shapes for up to one month.
- → Can I bake these instead of frying?
-
Yes, baking works well for a lighter version. Arrange breaded bunnies on a parchment-lined baking sheet, brush lightly with oil, and bake at 200°C (400°F) for 20-25 minutes until golden, flipping halfway through. The texture will be less crispy but still delicious.
- → What other decorations can I use?
-
Get creative with decorative elements! Try sesame seeds for eyes, small herb sprigs for whiskers, bell pepper strips for ears, or tiny cheese triangles for noses. Edible flowers or fresh herbs make lovely garnishes too.
- → Can I make these gluten-free?
-
Absolutely! Substitute all-purpose flour with a gluten-free flour blend and use certified gluten-free panko breadcrumbs. The binding and texture remain excellent, making these accessible for gluten-sensitive guests.
- → What dipping sauces pair well?
-
These creamy potato treats pair beautifully with herbed sour cream, garlic aioli, or tangy marinara. For Easter brunch, try pairing with hollandaise or a light dill yogurt sauce. Kids enjoy simple ketchup or honey mustard too.