 Pin It
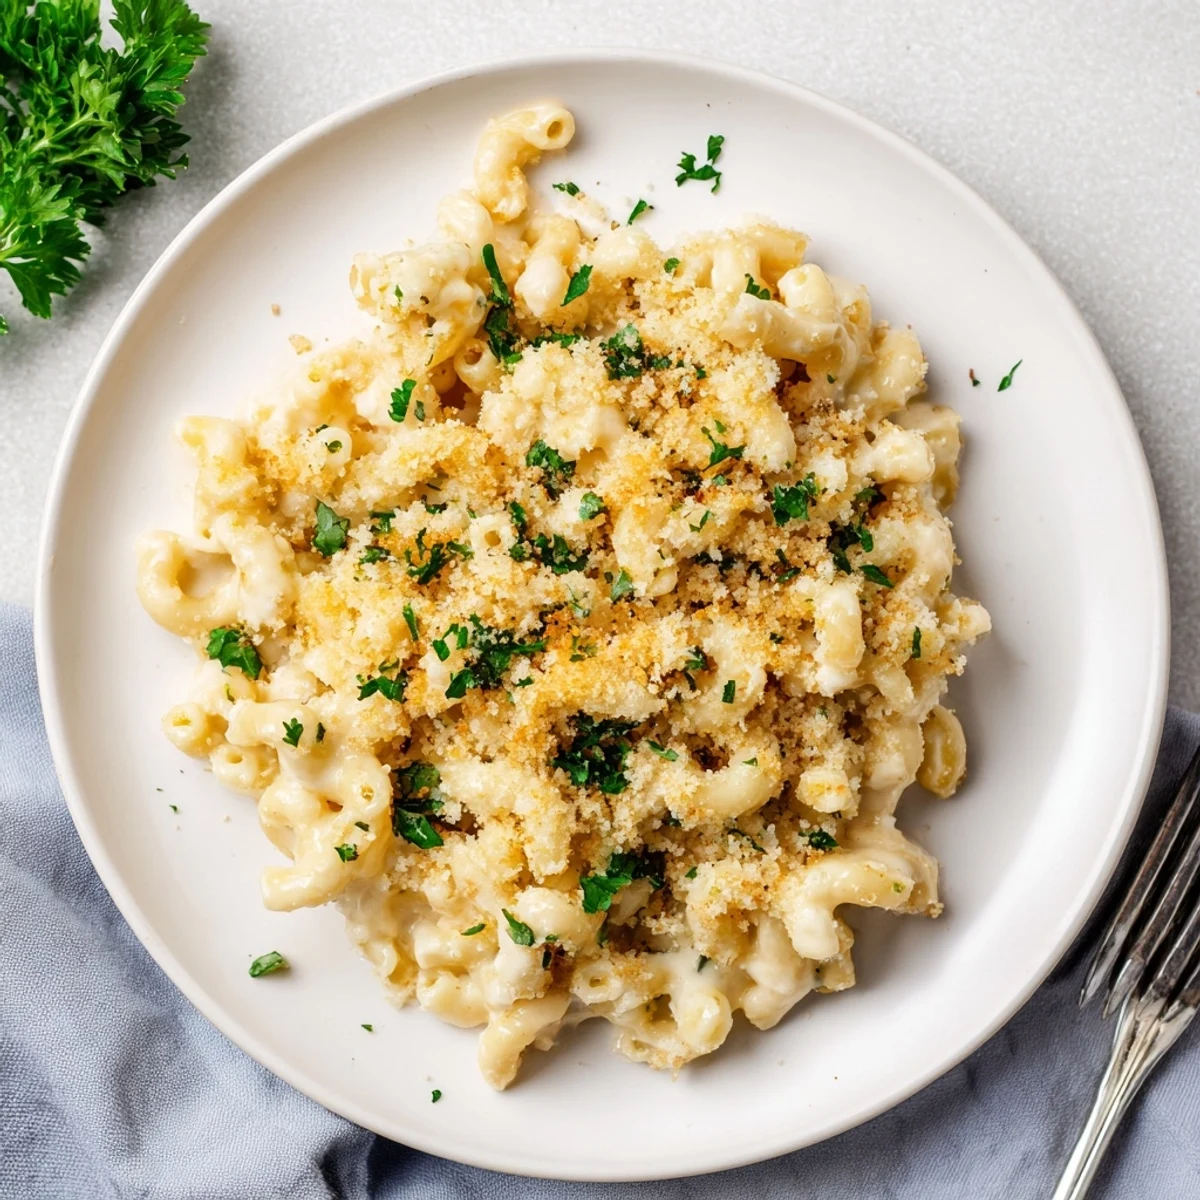
 This classic comfort dish features elbow macaroni coated in a rich, velvety cheese sauce made from sharp cheddar and Gruyère. The homemade béchamel base includes whole milk, heavy cream, and aromatic seasonings like Dijon mustard, garlic powder, and onion powder. After baking with a buttery panko-Parmesan topping, the surface becomes irresistibly golden and crunchy while the interior stays incredibly creamy. Ready in about 50 minutes, this crowd-pleasing dish serves six and pairs beautifully with a crisp green salad.
The first time I made this mac and cheese, my little brother actually stopped playing video games to come investigate the smell. That buttery, cheesy fragrance has a way of pulling everyone into the kitchen, and suddenly I had three helpers asking if they could taste test the sauce.
I started making this for rainy Sunday dinners when comfort food was the only thing that sounded right. Now my friends request it for every potluck, and honestly, I never say no because it disappears within minutes anyway.
Ingredients
- 400 g (14 oz) elbow macaroni: The curves catch sauce beautifully, and cooking it slightly under al dente keeps it from becoming mushy after baking
- 60 g (4 tbsp) unsalted butter: Use this for the roux base because it creates a velvety foundation for the cheese sauce
- 40 g (1/3 cup) all-purpose flour: This thickens the sauce into that gloriously creamy consistency we all want
- 720 ml (3 cups) whole milk: Whole milk makes the sauce rich, though I have used 2% in a pinch
- 120 ml (1/2 cup) heavy cream: This is the secret to restaurant-style creaminess that makes people ask what your secret ingredient is
- 200 g (2 cups) sharp cheddar cheese, shredded: Sharp cheddar gives that familiar orange color and tangy flavor we all associate with comfort food
- 100 g (1 cup) Gruyère cheese, shredded: Gruyère adds a sophisticated nuttiness that elevates this beyond basic mac and cheese
- 1 tsp Dijon mustard: You cannot taste the mustard itself, but it somehow makes the cheese flavor pop and taste cheesier
- 1/2 tsp garlic powder and 1/2 tsp onion powder: These aromatics add depth without needing to chop fresh onions or garlic
- 1/2 tsp salt and 1/4 tsp freshly ground black pepper: Season carefully, especially if your cheeses are already salty
- 60 g (1 cup) panko breadcrumbs: Panko stays crunchier longer than regular breadcrumbs, which means that topping stays satisfyingly crisp
- 30 g (1/4 cup) grated Parmesan cheese: Mixed into the topping, Parmesan adds savory notes that balance the richness
- 2 tbsp unsalted butter, melted: Tossing the panko with melted butter ensures it turns golden and crispy in the oven
Instructions
- Preheat your oven:
- Heat to 180°C (350°F) and grease a 2-liter baking dish with butter or cooking spray so nothing sticks later
- Cook the pasta:
- Boil salted water and cook macaroni for 1 to 2 minutes less than the package directions, then drain it well
- Start the roux:
- Melt butter in a large saucepan over medium heat, whisk in flour, and stir for 1 to 2 minutes until it bubbles but does not brown
- Add the liquids:
- Slowly whisk in milk and cream, cooking for 5 to 7 minutes while constantly whisking until the sauce thickens and just begins to bubble
- Melt in the cheese:
- Remove from heat and stir in cheddar, Gruyère, mustard, garlic powder, onion powder, salt, and pepper until completely smooth
- Combine pasta and sauce:
- Add the drained pasta to the cheese sauce and stir until every piece is coated in that golden goodness
- Transfer to the baking dish:
- Pour the mixture into your prepared dish and spread it evenly
- Make the crunchy topping:
- Mix panko, Parmesan, and melted butter in a bowl, then sprinkle it generously over the pasta
- Bake until golden:
- Bake for 25 to 30 minutes until the topping is deeply golden and the sauce bubbles around the edges
- Let it rest:
- Wait 5 minutes before serving to let the sauce set slightly, then garnish with parsley if you want something green on the table
 Pin It
 This recipe became my go-to for new neighbors and heartbroken friends. Something about warm, cheesy pasta feels like a hug in food form, and people always seem to open up over a shared bowl.
Making It Your Own
I have tried adding sautéed spinach, roasted red peppers, or even lobster when I wanted to feel fancy. The base sauce is forgiving and welcomes all kinds of additions, though I usually keep it simple for weeknight dinners.
The Leftover Situation
Reheated mac and cheese can be dry, so I splash in a little milk before warming it up. The microwave works fine, but the oven brings back some of that original crispy topping if you have the time.
What To Serve Alongside
A crisp green salad with vinaigrette cuts through the richness beautifully, but roasted broccoli or steamed green beans work just as well.
- A simple arugula salad with lemon dressing balances the heaviness
- Garlic bread might be overkill, but my family does it anyway
- Keep dinner vegetable-focused because this dish is already quite indulgent
 Pin It
 There is something deeply satisfying about making something so many people love from scratch. I hope this becomes your new comfort food tradition too.
Recipe Questions
- → Can I make this ahead of time?
-
Yes, assemble everything up to 24 hours before baking. Cover tightly and refrigerate, then add 10-15 minutes to the baking time if baking cold from the refrigerator.
- → What cheeses work best?
-
Sharp cheddar provides bold flavor while Gruyère adds excellent meltability. You can substitute mozzarella, Monterey Jack, or Fontina for a milder taste.
- → How do I prevent the sauce from separating?
-
Use shredded cheese rather than pre-shredded bags which contain anti-caking agents. Add cheese gradually off the heat, stirring constantly until completely melted.
- → Can I freeze leftovers?
-
Yes, portion into airtight containers and freeze for up to 3 months. Thaw overnight in the refrigerator and reheat covered at 180°C (350°F) until warmed through.
- → Why cook pasta less than package directions?
-
The pasta continues cooking in the oven while absorbing the cheese sauce. Stopping 1-2 minutes early prevents mushy texture and ensures perfect al dente consistency after baking.