 Pin It
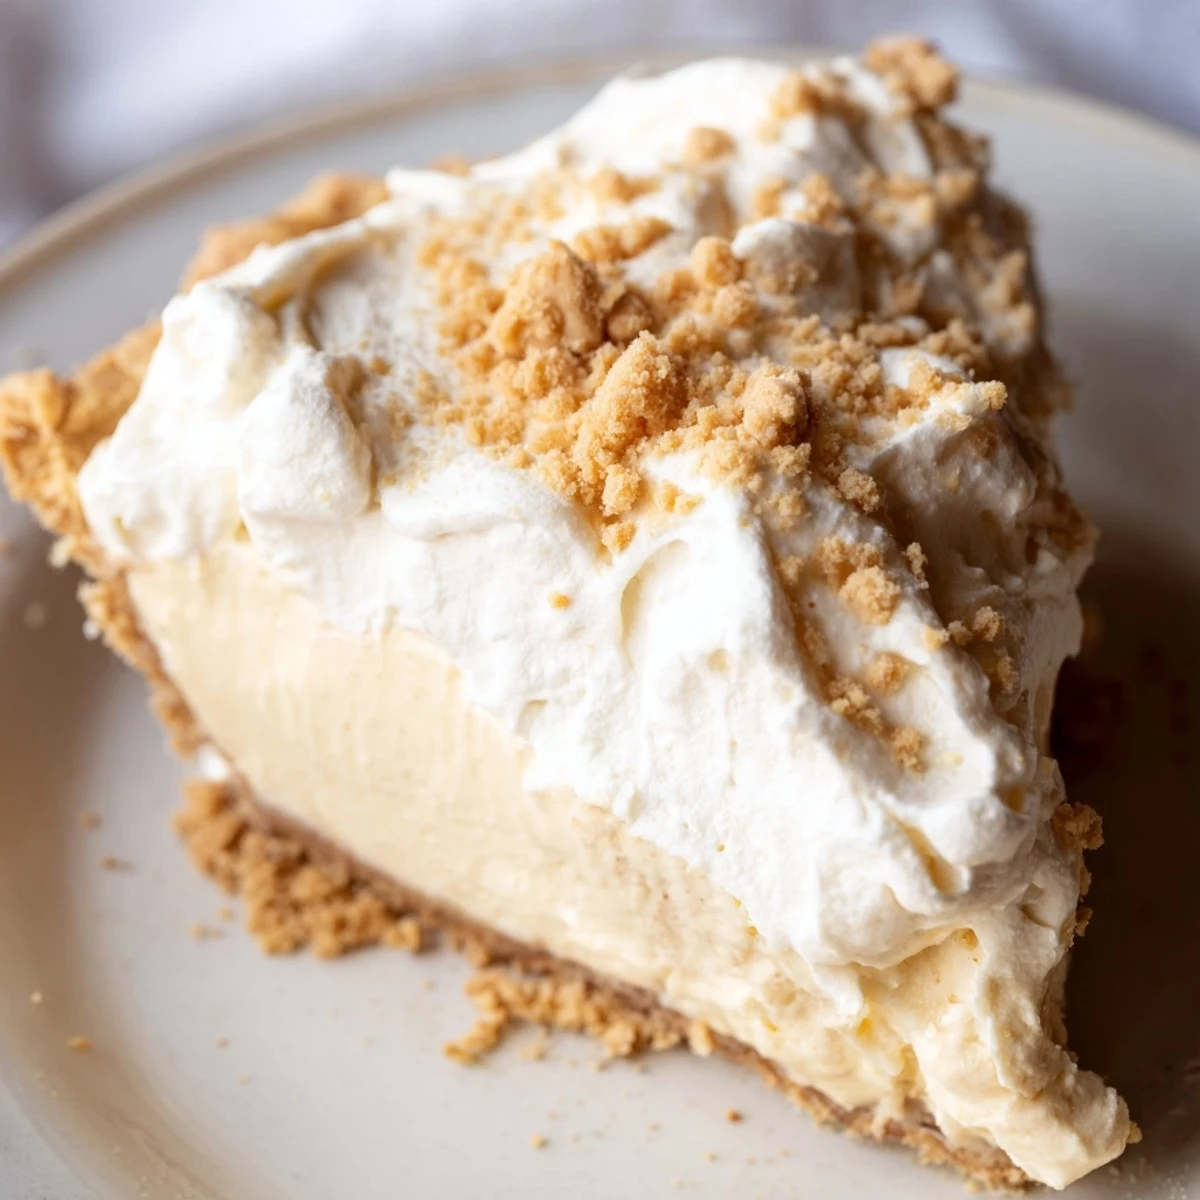
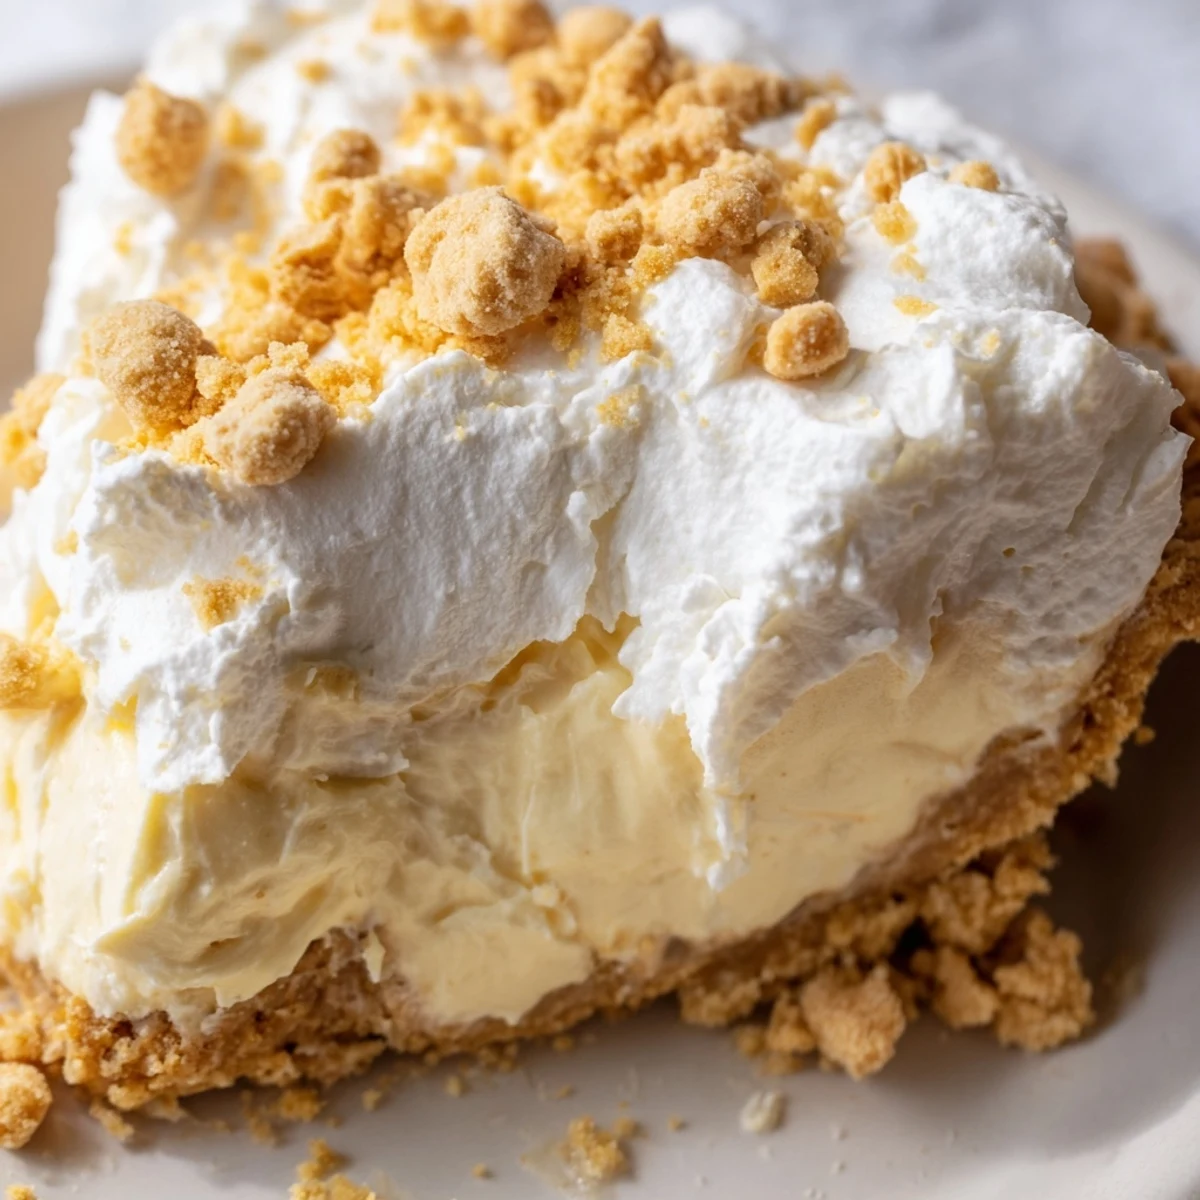
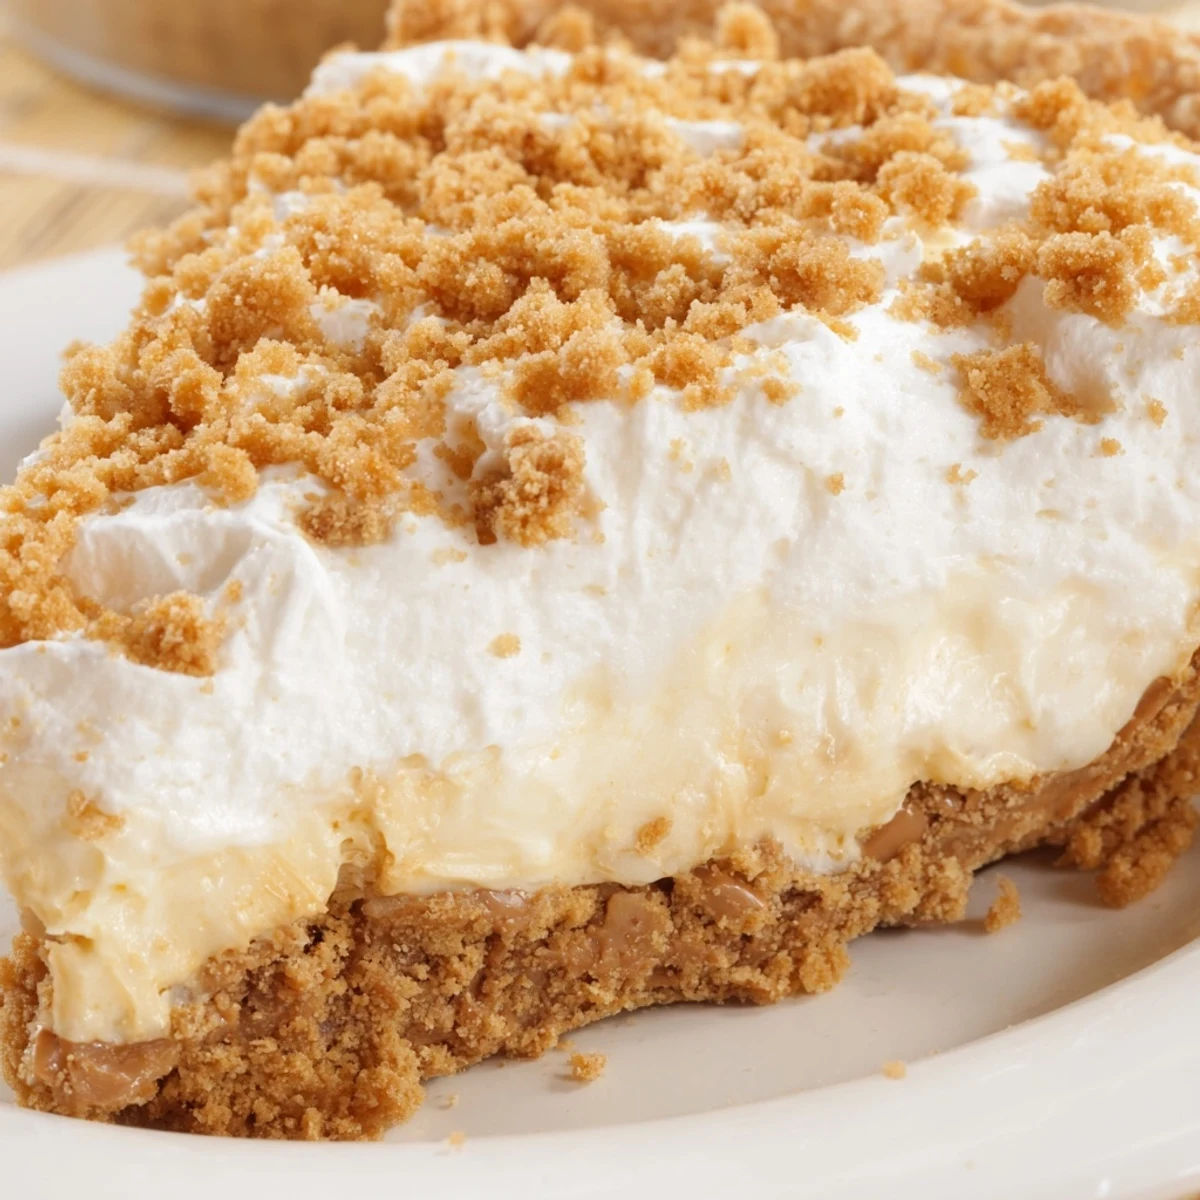
 This old-fashioned Amish dessert features a rich, creamy peanut butter filling made from scratch with milk, egg yolks, and vanilla. The filling is layered over a bed of sweet peanut butter crumbs in a crisp pie shell, then crowned with freshly whipped cream and a generous sprinkle of remaining crumbs. After chilling until set, the result is a dreamy, velvety slice of comfort that brings together nostalgic flavors and textures in perfect harmony.
The first time I encountered this pie at an Amish bakery in Lancaster County, I couldn't believe something so simple could taste so extraordinary. The owner told me her grandmother made it every Sunday, and that memory stuck with me all the way home. I've been making it for potlucks ever since, and it disappears faster than anything else on the table.
Last summer my neighbor asked me to make dessert for her daughters graduation party. I showed up with this pie, and her father took one bite and declared it better than the pie shop he visited every Saturday as a kid. That kind of compliment from a stranger means everything.
Ingredients
- 1 9-inch prepared pie crust: Having a ready-made crust on hand means you can focus on the good stuff. Bake it ahead of time so it's completely cool when you need it.
- 3/4 cup creamy peanut butter: The kind you stir yourself works beautifully here. Natural peanut butter gives a deeper flavor than the stabilized versions.
- 1 cup powdered sugar: This creates those magical crumbs that taste like peanut butter cookie dough. Don't skip this step.
- 2/3 cup granulated sugar: Balances the peanut butter richness perfectly. Trust the ratio.
- 1/3 cup all-purpose flour: The secret to a custard that sets up without being rubbery.
- 1/4 teaspoon salt: Just enough to make all the flavors pop.
- 2 cups whole milk: Whole milk makes the filling velvety. I've tried lower fat versions and they never feel quite right.
- 3 large egg yolks: Save the whites for meringue or breakfast tomorrow. Room temperature yolks incorporate more smoothly.
- 1 teaspoon pure vanilla extract: Real vanilla makes a difference you can taste.
- 2 tablespoons unsalted butter: Adds that final touch of richness at the end.
- 1 cup heavy whipping cream: Cold from the fridge whips up best.
- 2 tablespoons powdered sugar: Just enough sweetness for the topping without overpowering.
- 1/2 teaspoon vanilla extract: A little extra vanilla in the whipped cream makes it special.
Instructions
- Make the magic crumbs first:
- Mix the peanut butter and powdered sugar with a fork until it looks like damp sand. Your wrist might get a little tired but it's worth every crumble.
- Layer the bottom:
- Spread half the crumbs in your pie shell. Press gently so they stay put but don't pack them down.
- Start the custard base:
- Whisk sugar, flour, and salt in your saucepan until combined. Gradually whisk in the milk until completely smooth.
- Cook until thickened:
- Set over medium heat and whisk constantly. It'll take about 5 minutes to thicken and just start bubbling. Don't walk away.
- Temper those eggs:
- Whisk your yolks in a separate bowl while the milk heats. Slowly whisk in about a half cup of the hot mixture to warm the eggs gently.
- Combine and cook again:
- Pour the warmed eggs back into the saucepan, whisking like your life depends on it. Cook for 2 more minutes until glossy and thick.
- Finish with butter and vanilla:
- Remove from heat immediately. Stir in butter and vanilla until silky smooth.
- Assemble the layers:
- Pour the filling over the crumbs in your crust. Let it cool for 15 minutes on the counter before refrigerating.
- The waiting game:
- Chill at least 2 hours. I know it's hard but the custard needs time to set completely.
- Whip the cream:
- Beat heavy cream, powdered sugar, and vanilla until stiff peaks form. Spread over the cold pie.
- Final touch:
- Sprinkle the remaining crumbs on top right before serving. They'll stay crunchy longer that way.
 Pin It
 My mother-in-law asked for the recipe after Thanksgiving dinner. She said it reminded her of the pies her grandmother used to make when she was little. Sometimes food connects us to memories we didn't even know we were missing.
Making It Ahead
You can make the entire pie up to 24 hours in advance. The crumbs stay crunchier if you add the final topping right before serving. I've also frozen the fully assembled pie for up to a week, though the texture changes slightly after thawing.
Serving Suggestions
A warm cup of coffee alongside this pie creates the perfect balance. In summer, I've served it with fresh berries on the side. Something about the tart fruit cutting through all that richness works beautifully.
Troubleshooting Tips
If your custard seems too thin after cooking, don't panic. It continues thickening as it cools. But if you definitely undercooked it, you can gently rewarm and whisk for another minute. The custard should coat the back of a spoon when it's done.
- Make sure your egg yolks are room temperature before tempering
- Whisk vigorously when combining the hot milk with eggs
- Trust your nose. If it starts smelling like scrambled eggs, remove immediately
 Pin It
 There's something deeply satisfying about serving a pie that looks impressive but comes from such humble ingredients. This one never fails to make people feel taken care of.
Recipe Questions
- → How long should I chill the pie before serving?
-
Refrigerate for at least 2 hours until completely set. For best results, chill 3-4 hours to ensure the filling is firm and easy to slice cleanly.
- → Can I make this ahead of time?
-
Yes, this pie actually tastes better when made a day ahead. The flavors have time to meld together, and the texture becomes even creamier. Store covered in the refrigerator for up to 3 days.
- → What type of peanut butter works best?
-
Creamy peanut butter is recommended for both the crumbs and filling. Popular brands like Jif or Skippy work well because they have a consistent texture. Natural peanut butter can separate and affect the final consistency.
- → Can I use a store-bought crust?
-
Absolutely. A 9-inch prepared pie crust works perfectly. For extra flavor, consider a graham cracker or shortbread crust. Just ensure it's baked and cooled before adding the filling.
- → Why do I need to temper the eggs?
-
Tempering prevents the eggs from scrambling when added to the hot milk mixture. Whisking a small amount of hot liquid into the yolks first gradually raises their temperature, allowing them to blend smoothly into the saucepan.
- → How do I know when the filling is thick enough?
-
The filling is ready when it coats the back of a spoon and just begins to bubble. This usually takes 4-5 minutes of constant whisking over medium heat. The mixture should look glossy and pudding-like.